
Our Commercial Vehicle Graphics Process
A commercial graphics project works best when the vehicle details, design decisions and operational schedule are clear before production. This guide sets out the decisions to prepare, the information to review and the records to keep as your project moves from an initial enquiry to a vehicle ready to return to work.
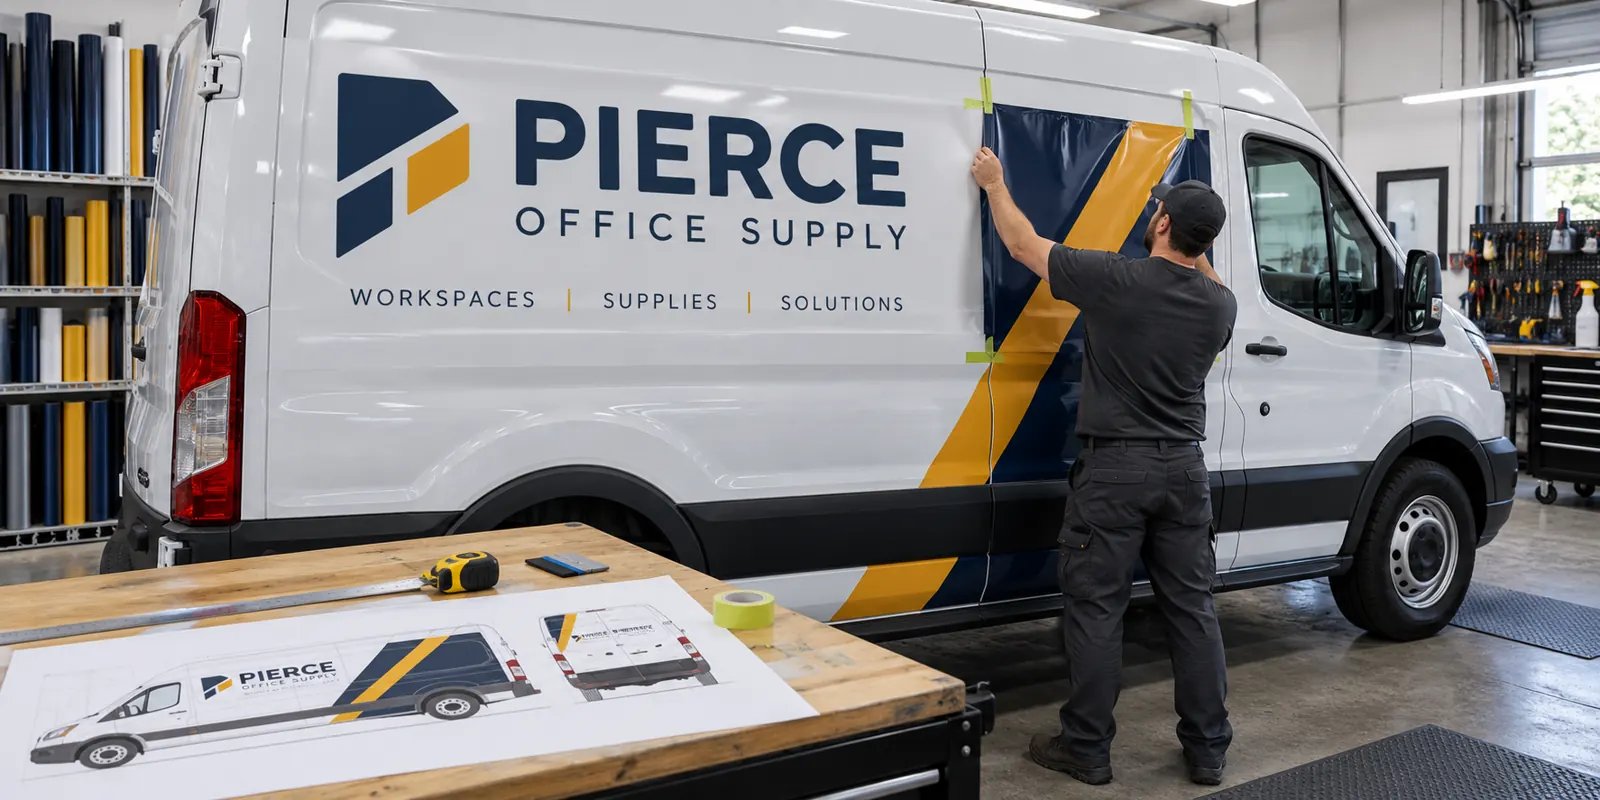
AI-generated illustrative planning or care scene; fictional branding where shown, not documentary customer or shop photography.
Begin with the business need and the actual equipment
Tell us what the vehicle needs to communicate and who is likely to see it. A local service truck, a delivery van and a trailer have different graphic areas and daily uses. Identify the business name, primary service description and contact route that matter most. Explain whether this is a new identity, a refresh, an addition to an existing fleet or a replacement after damage.
Send the year, make, model, body configuration and quantity, together with current photographs. Include each side and the rear, plus close views of old graphics and surface concerns. List accessories that interrupt the body. Begin with the vehicle directory if you need to identify the equipment category before building the brief.
Define coverage and condition before comparing proposals
Choose the coverage options to assess: lettering, partial coverage or a fuller branded surface. Describe what should happen to the roof, rear doors and areas around hardware. These details help establish a scope that can be discussed clearly. The name of a package alone does not explain the exact panels or preparation included.
Disclose previous graphics, repairs, rust, peeling paint or recent refinishing. Photographs support initial planning, while suitability may still need a closer review. Identify any removal or repair work separately in the scope. The commercial wrap cost guide explains why those details matter when comparing proposals and developing a project budget.
Prepare the artwork and assign an approval owner
Collect the best logo source, brand colors, preferred wording and any existing vehicle layouts. Say which items are ready and which need design work. If your only logo is a small web image, identify that early. A complete production layout is different from a logo file, and both should be accounted for in the project scope.
Choose one person to consolidate feedback and approve the final version. That person should be able to verify contact details, brand usage and any identification supplied by the business. Use the artwork guidelines to prepare a source package. Keeping ownership clear helps prevent competing revisions from reaching production as if they were all approved.
Review each vehicle view before production is authorized
Evaluate the side and rear views as separate communication surfaces. Check that handles, door splits, racks and other features do not undermine the main message. Confirm the coverage boundary, visible paint and layout for the exact body. Read phone numbers and domains character by character rather than relying on familiarity with the brand.
Keep a dated proof reference and return one consolidated response. Resolve questions about vehicle specification, quantities and wording before giving approval. Ask how revisions are handled after that point and when production work begins. A clear approval record connects the intended design to the agreed scope; it is not a substitute for disclosing a vehicle change.
Coordinate the vehicle release with daily operations
Discuss the desired date, but wait for a confirmed arrangement before making commitments around it. Identify who delivers the vehicle, who collects it and how keys or access instructions are handled. Ask what should be removed or prepared before arrival. Tell the team about equipment, cargo or vehicle restrictions that could affect access to the agreed graphic areas.
For a fleet, separate priority units from those that can follow later. Explain the number you can release at one time and any days when a vehicle must remain available. Different body types may require different artwork versions. Build a phased plan that reflects those differences rather than assuming all vehicles can move through the project as one identical batch.
Use handover to establish the ongoing care record
Review the completed graphic areas against the approved project reference and raise any questions while the details are fresh. Ask for the relevant material and care information, and identify who should receive future condition reports. Keep the project reference with the vehicle identifier so drivers and managers can locate it without searching through unrelated email threads.
Assign responsibility for communicating the care routine to cleaners and new drivers. Record damage, graphic changes and body repairs as they occur. The wrap care guide provides an operational framework for this record. Actual product instructions and written project terms remain the reference for maintenance and any later assessment.
Make later additions easier without assuming every vehicle matches
Retain the approved proof, brand files and vehicle specifications for future planning. When a new unit arrives, send current photos and configuration details, even if it appears similar to an existing vehicle. Body changes and aftermarket equipment can affect the layout. Confirm whether the new vehicle needs an adaptation, a new design version or a replacement of an established panel.
Start a project brief with your equipment list and the decision you need help making. If the fleet includes several vehicle types, include a simple quantity breakdown. The purpose of this process is to make the next action clear at each stage, with scope, approvals and operational arrangements recorded before the project depends on them.
Frequently Asked Questions
Turn Your Vehicle Details Into a Clear Project Brief
Send current photographs, vehicle quantities, logo files, coverage preferences and timing. Identify old graphics and paint concerns so the project review can address the actual equipment.
Explore planning resources or request your commercial wrap quote.