
Commercial Trailer Fleet Graphics
A trailer fleet needs a recognizable identity and an accurate way to repeat it across changing equipment. Pelican Wraps plans commercial trailer graphics around body types, side and rear layouts, approved contact rules and practical unit release. Whether the scope is a new program, a rebrand or later additions, start with a trailer register and current photographs.
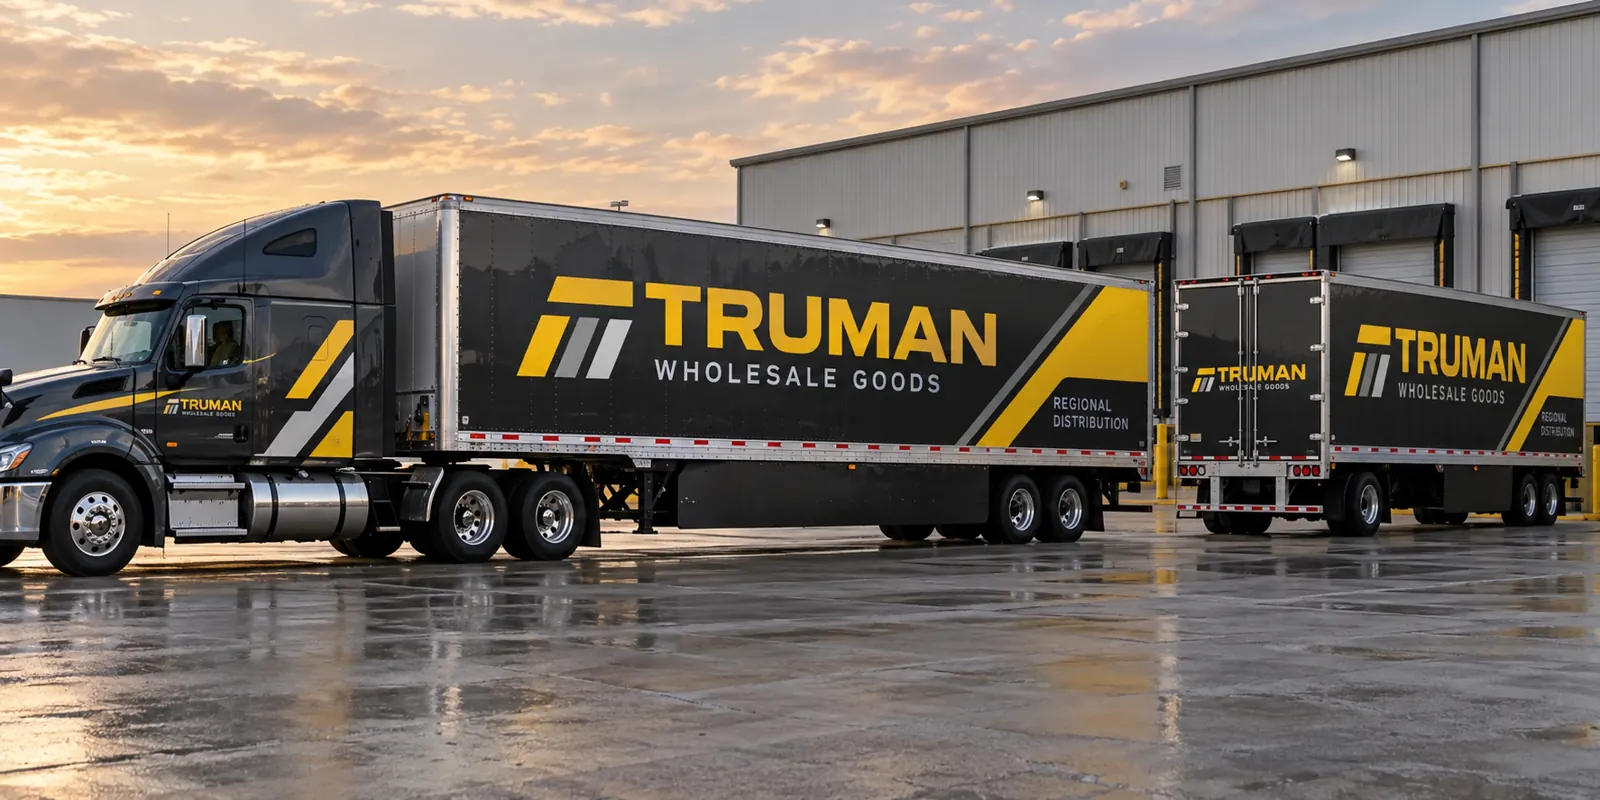
Fictional commercial wrap design concept; not a completed customer installation.
Build the program from the trailers actually in service
Create a list of the trailer identifiers, body lengths, configurations, operating bases and current graphics. Photograph both sides and the rear, including doors, latches, surface details and equipment. Identify leased units, replacement bodies and trailers due to leave service. A total fleet count does not show which layouts and preparation tasks are needed.
Group similar equipment for planning, but keep each unit traceable. A rear-door difference or a changed panel can matter even within a familiar body family. Explain whether the project also includes tractors, box trucks or delivery vans. The identity can be reviewed across those vehicles while the trailer graphics retain a scope fitted to the freight equipment.
Set a side-panel hierarchy that can repeat
Decide which company name, product category or service message should dominate the trailer side. Use the broad area to make the identity recognizable, with supporting information placed deliberately. A large panel does not need to become a long directory of every service. Check what a viewer should understand before adding secondary promotional content.
Record the approved logo proportions, colors, message order and contact route. Different body lengths may need a different composition while retaining that system. Review the adaptations together rather than allowing each new trailer to become a separate design interpretation. The large-body design guide offers useful message-hierarchy questions, while the actual trailer proof establishes the physical fit.
Treat rear doors and working hardware as their own scope
Photograph the rear doors or shutter, latches, hinges, lights and any lift equipment. Choose a rear message that works within those dimensions. A side-panel design often needs a simpler rear treatment so the company and contact route remain understandable. Review the doors in their normal operating positions as well as the closed view.
Identify panels or hardware scheduled for repair or replacement. Do not approve production against a configuration that will change before installation. Ask which rear surfaces and fittings are included, and how the layout accounts for the actual body details. The proposal should make the side, rear and any other requested areas visible as distinct parts of the work.
Define coverage, material and preparation consistently
Compare full-side printed coverage, selected graphic areas and lettering using the same approved identity. Specify what remains original and which surfaces are excluded. Provide information about existing film, finish condition, repairs and normal use. Removal and preparation should be addressed explicitly, especially when trailers have different graphics histories.
Ask the proposal to identify the intended material system for each relevant surface and the work included in the production package. Retain written instructions and terms supplied for the actual system. The materials guide helps organize that review. A common brand appearance should be supported by a defined specification rather than an assumption that every trailer receives an identical physical application.
Control owner, operator and branch information
A trailer may carry a customer-facing brand while its owner or operational assignment differs. Provide the approved wording and identify which information is fixed across the program and which varies by unit or group. Keep any required markings under the appropriate responsible review, separate from decorative brand approval.
Check those assignments on the final proof before production. If a trailer changes operating base, identify whether its installed contact details still belong there. A repeat order should refer to the current register and revision, not a convenient old photo. This is especially useful when several people place requests or equipment moves between groups during a longer rollout.
Release the fleet in a sequence operations can support
Identify which trailers can be unavailable together, who can position them and which must continue supporting dispatch. Keep artwork approval, preparation, production and installation readiness as separate milestones. If a unit is away, unprepared or being repaired, use an agreed exception process rather than substituting a different trailer without checking the layout.
Use the scheduling guide to organize the release plan and graphics management for continuing additions. Save completion photographs, installed revisions and material references by unit. Those records help a later replacement or new body begin from the approved program while still allowing the necessary fit and condition checks.
Request a trailer program proposal with a clear unit list
Send the trailer register, body photographs, approved identity, desired coverage and current artwork status. Explain existing graphics, finish concerns, operating locations and launch priorities. Identify who approves the business scope, who approves artwork and who controls vehicle release. If installation at another location is requested, provide that site’s details for a separate arrangement review.
Request a commercial trailer fleet proposal to clarify the production and installation scope. Pelican Wraps is based in Harvey. For small contractor trailers, review enclosed trailer wraps; for a combined tractor-and-trailer identity, use the semi-truck graphics service. The correct route helps the inquiry describe the equipment and program you actually need.
Frequently Asked Questions
Turn Your Vehicle Details Into a Clear Project Brief
Send current photographs, vehicle quantities, logo files, coverage preferences and timing. Identify old graphics and paint concerns so the project review can address the actual equipment.
Explore planning resources or request your commercial wrap quote.