
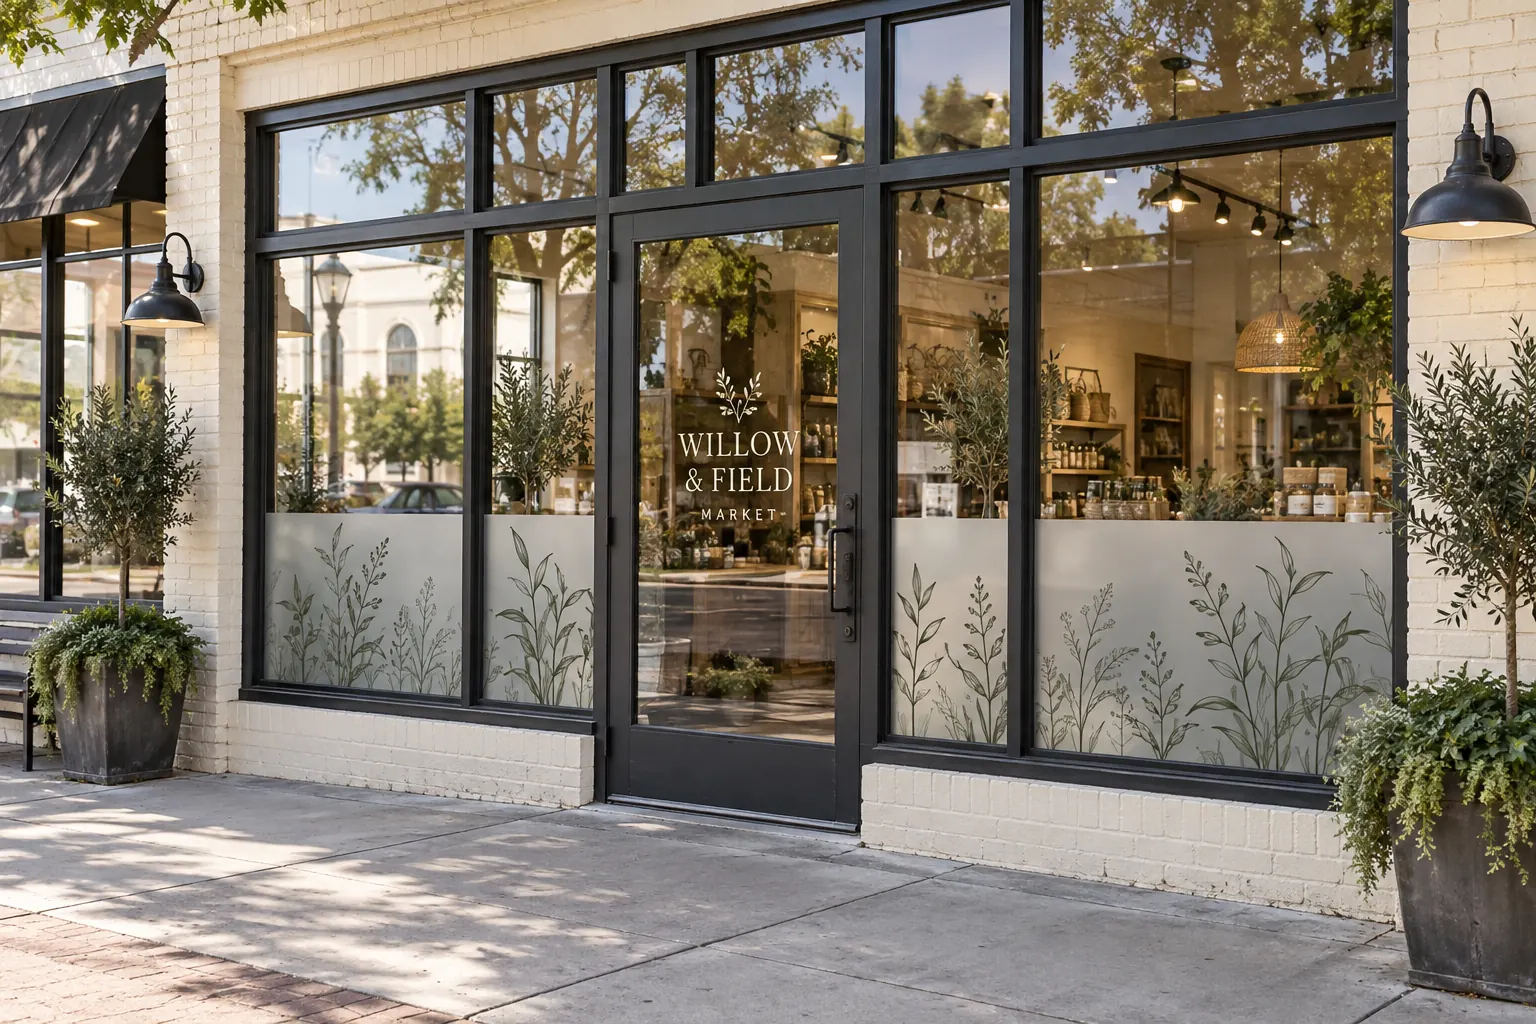
Fictional commercial graphics design concept; not a completed customer installation.
Assign each window a role in the storefront
Decide whether the glass should identify the company, communicate an offer, provide privacy or keep a clear view into the business. These goals can compete for the same area. Define the priority before choosing coverage so a campaign does not unintentionally hide the entrance or the merchandise that helps customers understand the store.
Map the storefront from the customer approach. Mark the operating door and the panes that frame it, then identify where a visitor pauses to read. Keep business identification and essential entrance information easy to find. A glass graphic should make the next step clearer; it should not require a visitor to inspect every pane to work out which door belongs to the business.
Prepare a pane schedule rather than one rough overall size
Label each pane and door in a photograph, then record the dimensions and proposed graphic area against those labels. Include mullions, frames, handles, locks, opening sections and any existing notices that must stay visible. Record measurements consistently and distinguish the full glass size from the intended coverage size.
Provide close images of existing film, old graphics, adhesive residue, damage or unusual surface conditions. Include glass specifications or building records when available. Product compatibility and the intended application side need review for the actual glass and selected system. Do not assume that a film suitable for one storefront is appropriate for every type of glazing or existing treatment.
Balance privacy, daylight and the view through the glass
Discuss what should remain visible from inside and outside, and under which operating conditions. A solid printed area, a cut design, a frosted effect and a perforated graphic create different visual arrangements. Begin with the functional requirement, then review suitable product options rather than selecting from a small online thumbnail alone.
Ask to review the proposed effect in relation to the business lighting and the areas that need privacy. Avoid treating a concept image as proof of a guaranteed one-way view or security outcome. Where privacy is important, define the expectation clearly and check the chosen system before committing to a whole frontage. Keep sales messaging separate from any unverified performance claims about the glass or film.
Design around the door hardware and the human scale
Use the approved business name and a clear hierarchy for any opening information or entrance instruction. Keep critical text away from handles, door movement and interruptions in the glass. Review the design at the size a person actually reads it, as well as on the full storefront proof. A logo that appears generous on a large monitor may be modest on a wide facade.
Keep temporary offers and changeable hours manageable. They may work better as a separate replaceable element than as part of a large permanent graphic. Coordinate the entrance with the main business sign so the visitor sees one consistent identity. Check current spelling, contact details and approved business wording before the design reaches production.
Confirm the property and installation responsibilities
Identify who can approve changes to the glazing and who controls access to both sides of the proposed area where needed. For a leased storefront, establish the property-management review process. Provide any building-specific requirements and arrange the appropriate compatibility review before final material selection.
Record business hours, the target installation window and how the entrance will remain managed during work. If old graphics must be removed, include that task and any uncertain surface condition in the scope. Installation scheduling depends on the selected product, site readiness and access; an opening date in the enquiry should be treated as a planning constraint until the actual work has been agreed.
Approve a full elevation and each detailed pane
The overall storefront proof shows the relationship between identity, coverage and clear areas. Pane-level proofs confirm dimensions, wording and the arrangement around frames and hardware. Both views matter: a correct individual panel can still create an awkward frontage when combined with the neighboring panes.
Use consistent pane labels across measurement notes, artwork, production and installation. Name a final approver and preserve the accepted file version. For several locations, keep separate glass schedules because the same design may require different panel sizes and composition. Include source artwork with the enquiry; the artwork guide explains how to organize a useful file handoff.
Plan care, changes and replacement records
Ask for cleaning and care instructions for the selected graphic system and retain them with the property records. Document the installed pane locations and the artwork used. Report damage or lifting with photographs and a pane reference so the review can focus on the affected item rather than guessing from a whole-building image.
If the business changes hours or runs seasonal promotions, identify which elements can be updated separately. Retaining a clear pane schedule makes that conversation easier. For a coordinated frontage, compare retail storefront planning and then send a window graphics brief with the photographs, intended coverage and visibility priorities. Describe the commercial goal before choosing a final visual treatment.
Frequently Asked Questions
Turn Your Site Details Into a Clear Project Brief
Send current site photographs, an item schedule, logo files, dimensions and timing. Identify existing graphics and surface concerns so the project review can address the actual location.
Explore planning resources or request your business graphics quote.