
Reflective Vehicle Graphics and Safety Marking Project Planning
Plan reflective identity and operational markings around the actual fleet, the specified material system and the standards supplied by the responsible fleet owner. Keep brand graphics, required labels and regulated conspicuity requirements clearly defined in the scope.
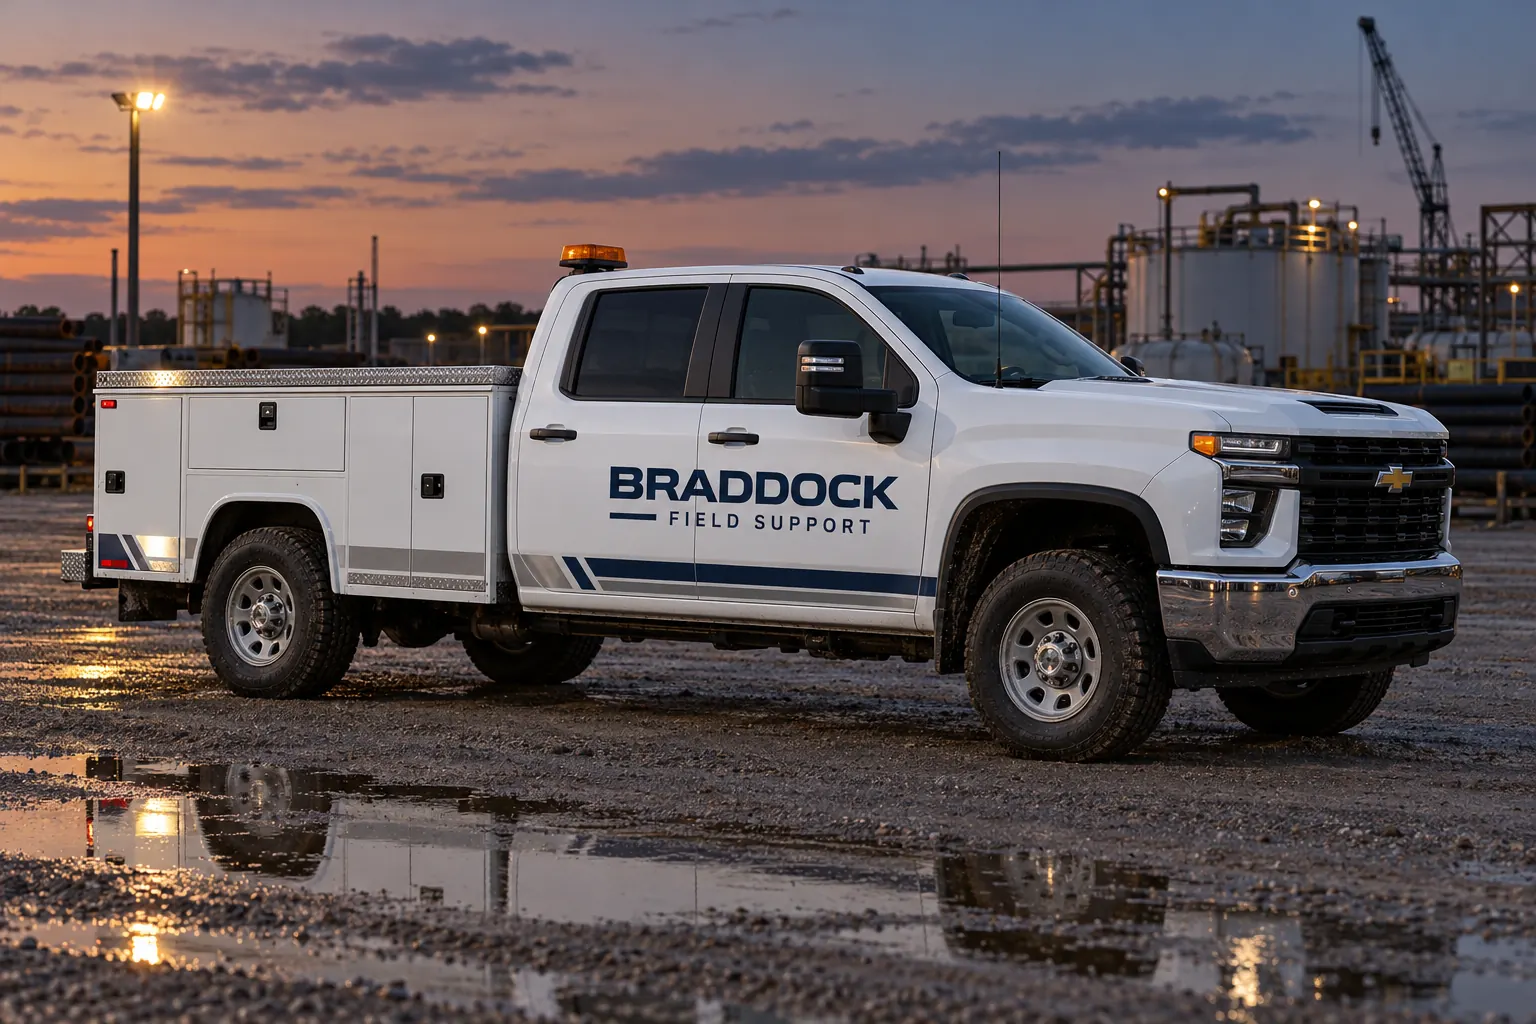
Fictional commercial graphics design concept; not a completed customer installation.
Separate the three jobs a vehicle marking may perform
A reflective company name supports business identification. An operational unit number helps the fleet recognize an asset. A specified conspicuity marking serves a different role and may have requirements for its material, pattern and placement. These items can appear on the same vehicle, but they should not be described as one interchangeable graphics product.
List each required marking and identify the person or document that defines it. Keep that schedule separate from optional decorative coverage. This gives the designer a clear boundary and gives the approver a useful way to review the proof. A visually reflective concept is not evidence that a vehicle meets every applicable marking requirement, nor does an approved logo establish a compliant operational layout.
Match the reflective product to the stated requirement
Reflective graphic films and conspicuity products have different intended uses and product specifications. The 3M Series 983 conspicuity product information, for example, describes a particular microprismatic marking product for vehicle visibility. That does not make any reflective printed logo an equivalent substitute.
Provide the required product reference or performance specification when one governs the job. If the requirement is unclear, have the responsible fleet or procurement contact resolve it before manufacture. Record the selected system in the proposal and retained production records. Review current technical information for the actual material, application surface and proposed construction rather than relying on a general description such as reflective vinyl.
Map the working vehicle before placing graphics
Photograph all sides of each body configuration and include the rear, compartments, liftgates and relevant working positions. Record lights, reflectors, handles, hinges, steps, cameras, warning labels and any areas the fleet requires to stay clear. A stock vehicle outline is not enough when the working body has been modified or carries additional equipment.
Use separate placement sheets for meaningful configuration differences. A service-body pickup and a box truck may share the same company identity while needing very different marking arrangements. Review the proposed layout against the actual equipment and the owner-supplied requirements. Do not place critical identification where a door opening, toolbox or accessory makes it unreadable during ordinary use.
Keep the brand hierarchy clear in ordinary daylight
Reflective areas still belong to an overall commercial design. Establish a readable company name, a clear operational identifier where needed and a restrained set of secondary details. Avoid using so many competing accents that the unit number or main identity becomes difficult to locate. Review the daylight appearance alongside the intended reflective treatment.
Use the approved logo and current contact information, and avoid invented emergency or agency styling for an ordinary private support vehicle. The aim is truthful recognition of the actual operator. For broader identity planning, see commercial fleet graphics. Required markings should remain a defined part of that layout rather than an afterthought added over an already approved decorative design.
Identify surface condition and existing marking work
Document old graphics, damaged reflective areas, paint repairs and any known coating concerns. Include photographs and an inventory of markings that must remain, be removed or be replaced. Do not assume that an older reflective product is compatible with a new layer or that old adhesive can be ignored because the replacement covers the same area.
The material review and preparation plan should use the selected system guidance and the actual surface condition. If the vehicle arrives in a different condition from the survey, resolve the changed scope before proceeding. Include removal and preparation responsibilities in the quotation. This avoids comparing a new marking package with a price that quietly assumes the vehicle is already ready for installation.
Approve the specification and the artwork as connected checks
Name the brand approver and the responsible operational or compliance contact. The first checks logo, wording and identity; the second confirms the supplied marking requirements and layout. Keep one final accepted version with the vehicle configuration and unit references clearly identified. Conflicting comments should be resolved before production, not delegated to the installer.
For fleet batches, confirm unit IDs against the current asset register and record exceptions individually. Review a representative configuration before repeating it across several vehicles. The utility decal and unit-marking plan provides a related framework for managing identifiers. Do not interpret a successful visual proof review as an independent certification of the entire vehicle.
Retain records for inspection and targeted replacement
Keep the product reference, approved layout, unit identifier, installed photographs and file version with the vehicle record. Assign routine inspection and reporting through the fleet maintenance process. Report damaged, missing or changed markings to the responsible contact and use the retained records to scope a replacement rather than recreating the layout from memory.
Provide clear photographs of the affected area and identify any changes in body equipment or owner requirements. For a new job, request a reflective graphics review with the vehicle list, required specifications, photographs and schedule. The reflective graphics guide can support the planning discussion while the actual material and marking requirements remain tied to the project.
Frequently Asked Questions
Turn Your Project Details Into a Clear Brief
Send current photographs, quantities, logo files, dimensions and timing. Identify existing graphics, required specifications and surface concerns so the review can address the actual equipment or site.
Explore planning resources or request your commercial graphics quote.