
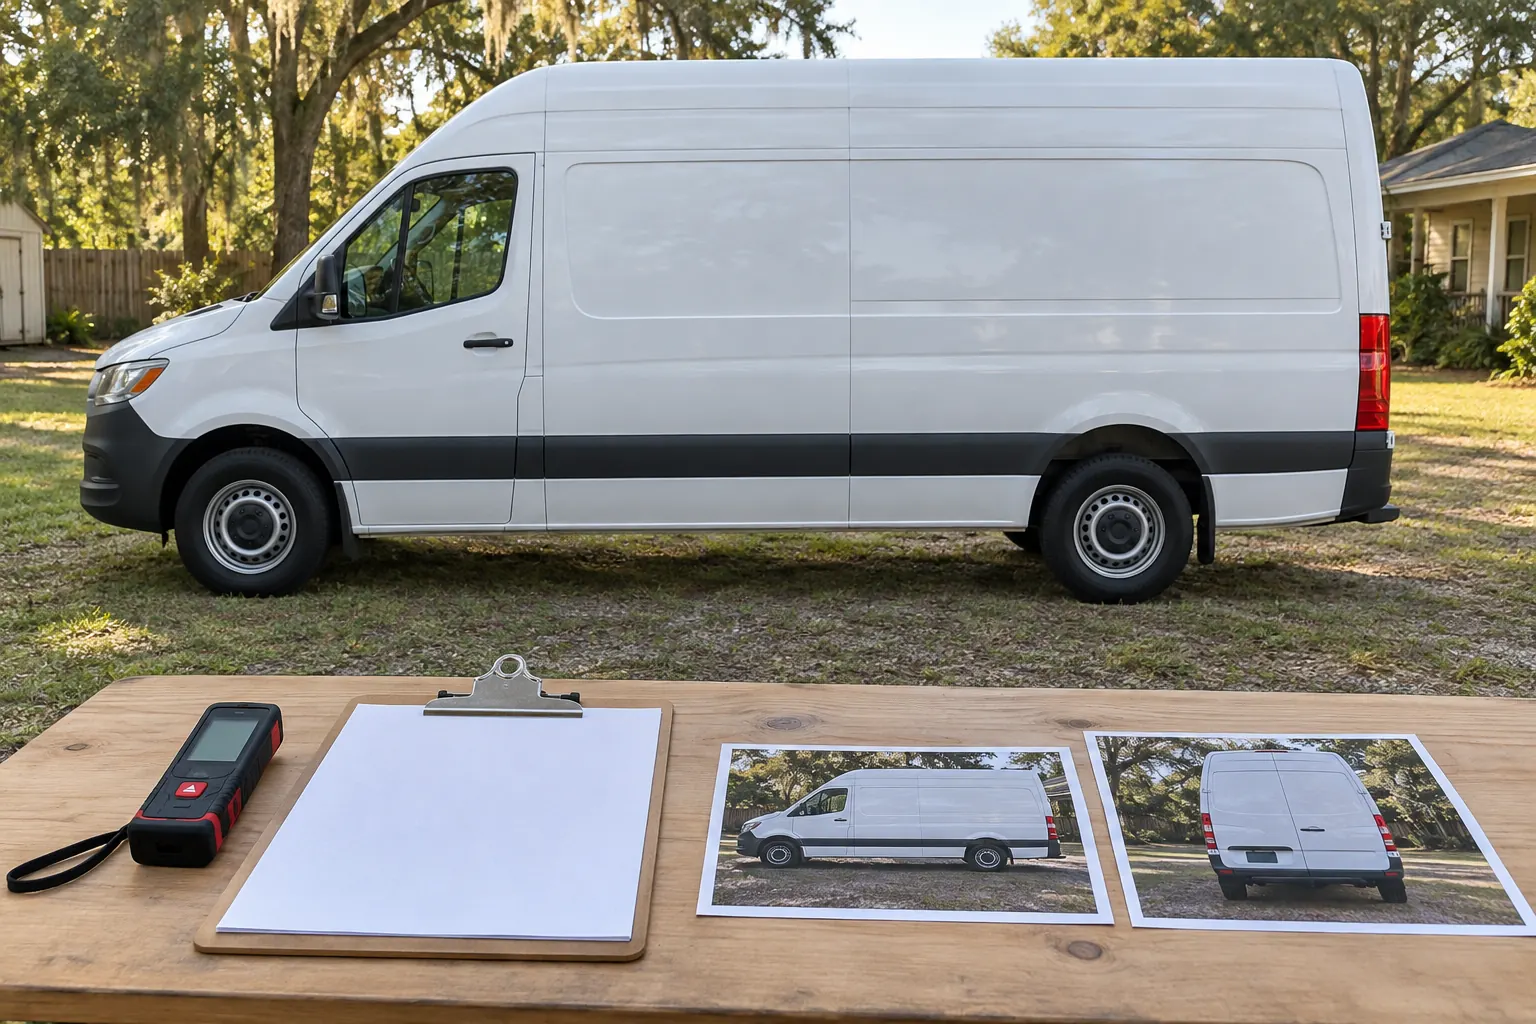
Illustrative planning concept; not a customer photograph, measured color test or verified survey.
Identify the asset and the purpose of the survey
Record the unit reference, year, make, model and relevant body configuration. Add wheelbase, roof height, body length or aftermarket-body information where it distinguishes the asset. State whether the record supports an initial quote, a fitted design or final production verification. Those are different levels of certainty and should not be confused.
For fleet work, identify which units share the reference configuration and which are exceptions. A representative photograph should not silently stand in for every similar-looking truck. Link the survey to the current inventory so quantity, configuration and condition questions all refer to the same actual equipment and accepted unit list.
Create a labeled set of overall views
Photograph both sides, front and rear with the full relevant face visible. Identify the view in the filename or a simple accompanying index. Add a three-quarter view where it helps explain the relationship between the cab, body and accessories, but do not use that perspective image as a substitute for every face reference.
Keep the original clear files and review them for shadow, reflection or obstructions that hide useful details. Use the photo checklist for the initial handoff. The survey record should let another reviewer find the exact face being discussed without relying on a verbal description such as the other side of the white van.
Measure between defined references and record the units
Use identifiable start and end references for each dimension and name what the value describes. Distinguish overall body size from a usable panel or proposed graphic area. Record horizontal and vertical dimensions separately and use consistent units throughout the sheet. An unlabeled number beside a photograph leaves the designer to guess its meaning.
Mark estimates and unverified values clearly. Do not derive a precise production size from perspective in a distant image alone. Agree the final measurement and fit-verification responsibility before manufacture. This guide organizes the record; it does not certify every measurement taken by the customer or replace the actual production survey required for the selected layout and application.
Minimum survey-record fields
| Field | Purpose |
|---|---|
| Unit and configuration | Identify the actual asset and relevant body |
| Photo reference | Connect the dimension to a labeled face |
| Start and end references | Explain exactly what was measured |
| Units and value | Keep dimensions consistent and understandable |
| Status and verifier | Separate estimates from accepted final fit information |
Locate hardware and interruptions within the same record
Add close photographs of handles, hinges, seams, rivets, doors, windows, vents and accessories within the proposed coverage. Identify each detail relative to the overall face reference. Where location dimensions are needed, use the same fixed reference convention so a feature can be located without several incompatible measuring origins.
Record the actual working body and relevant equipment positions through the responsible operator process. A stock template may not show a service compartment, replacement panel or added rack. Important identity elements need review against those interruptions rather than placement on an assumed blank rectangle. Keep lights, original labels and required operational information within the responsible fleet review.
Document condition and intended coverage separately
Photograph visible damage, repaired coatings and old graphics, with notes about known history. Mark uncertainty beneath existing film. Condition information helps define preparation and readiness; it is different from the dimensions used to fit the artwork. A correct measurement does not establish that the surface is suitable for the proposed system.
Also show which faces and areas are intended to receive graphics. A full-body survey and a limited door-lettering scope may require different production information. Use preparation planning and surface-condition review to keep those decisions connected without treating one accepted drawing as proof that every condition question has been resolved.
Review the record against the fitted layout
When a design proof is prepared, check that it refers to the correct survey version and configuration. Review the placement of the main identity, contact route and variable data against the recorded interruptions. Resolve missing dimensions or contradictory photographs before those assumptions become production instructions.
If the asset changes, issue an updated record and explain the difference. A repaired panel or new accessory can matter even when the unit number remains the same. Use the fleet standards guide to connect the accepted layout and source record. Do not let an old template become authoritative simply because it has been reused several times without a documented check.
Retain the survey and installed evidence for future work
Keep the accepted measurement record, photo index, artwork version, material references and installed photographs linked to the unit. Record later repairs and configuration changes. This gives additions and replacement enquiries a traceable starting point while preserving the distinction between original dimensions and current condition.
For an initial review, send the vehicle graphics brief with available survey information, intended coverage and any unknowns. Label estimates honestly and identify who can verify final fit. A useful survey reduces guessing; it should not create false confidence through precise-looking numbers whose references, units or measurement responsibility have never been agreed.
Frequently Asked Questions
Turn Your Vehicle Details Into a Clear Project Brief
Send current photographs, vehicle quantities, logo files, coverage preferences and timing. Identify old graphics and paint concerns so the project review can address the actual equipment.
Explore planning resources or request your commercial wrap quote.