
Wrap & Graphics Gallery
Explore wrap designs, see before-and-after comparisons, and find ideas for your vehicles, boats and business space.
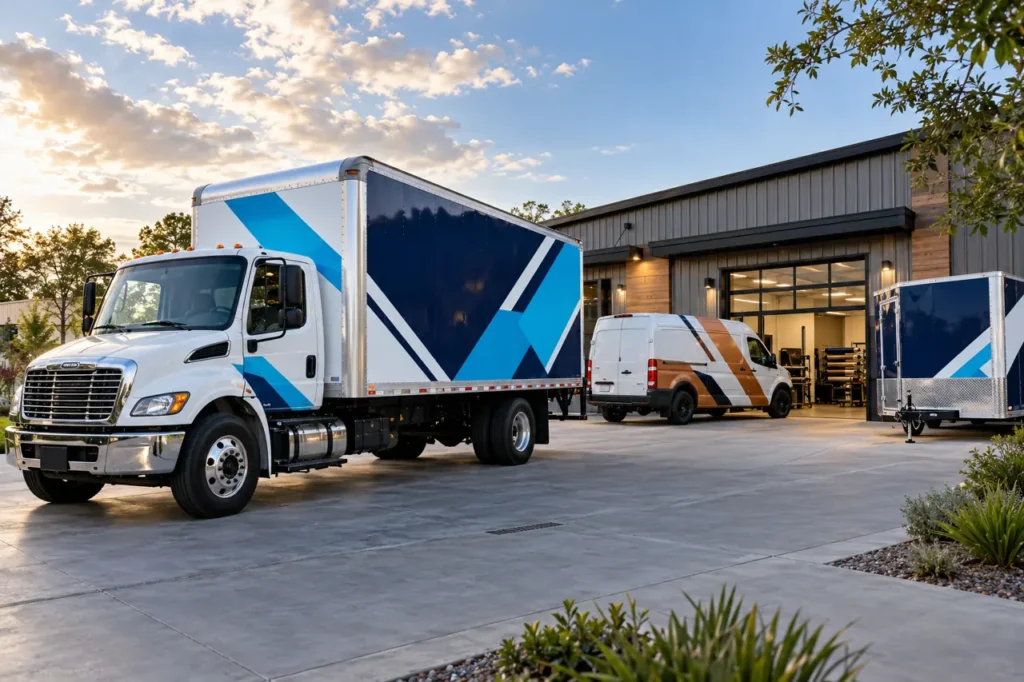
Find a look for your project
Browse vehicle wraps, marine graphics, signs and visual planning guides. Open any image for a closer look, or follow its page for details.
Showing 25–48 of 154 images
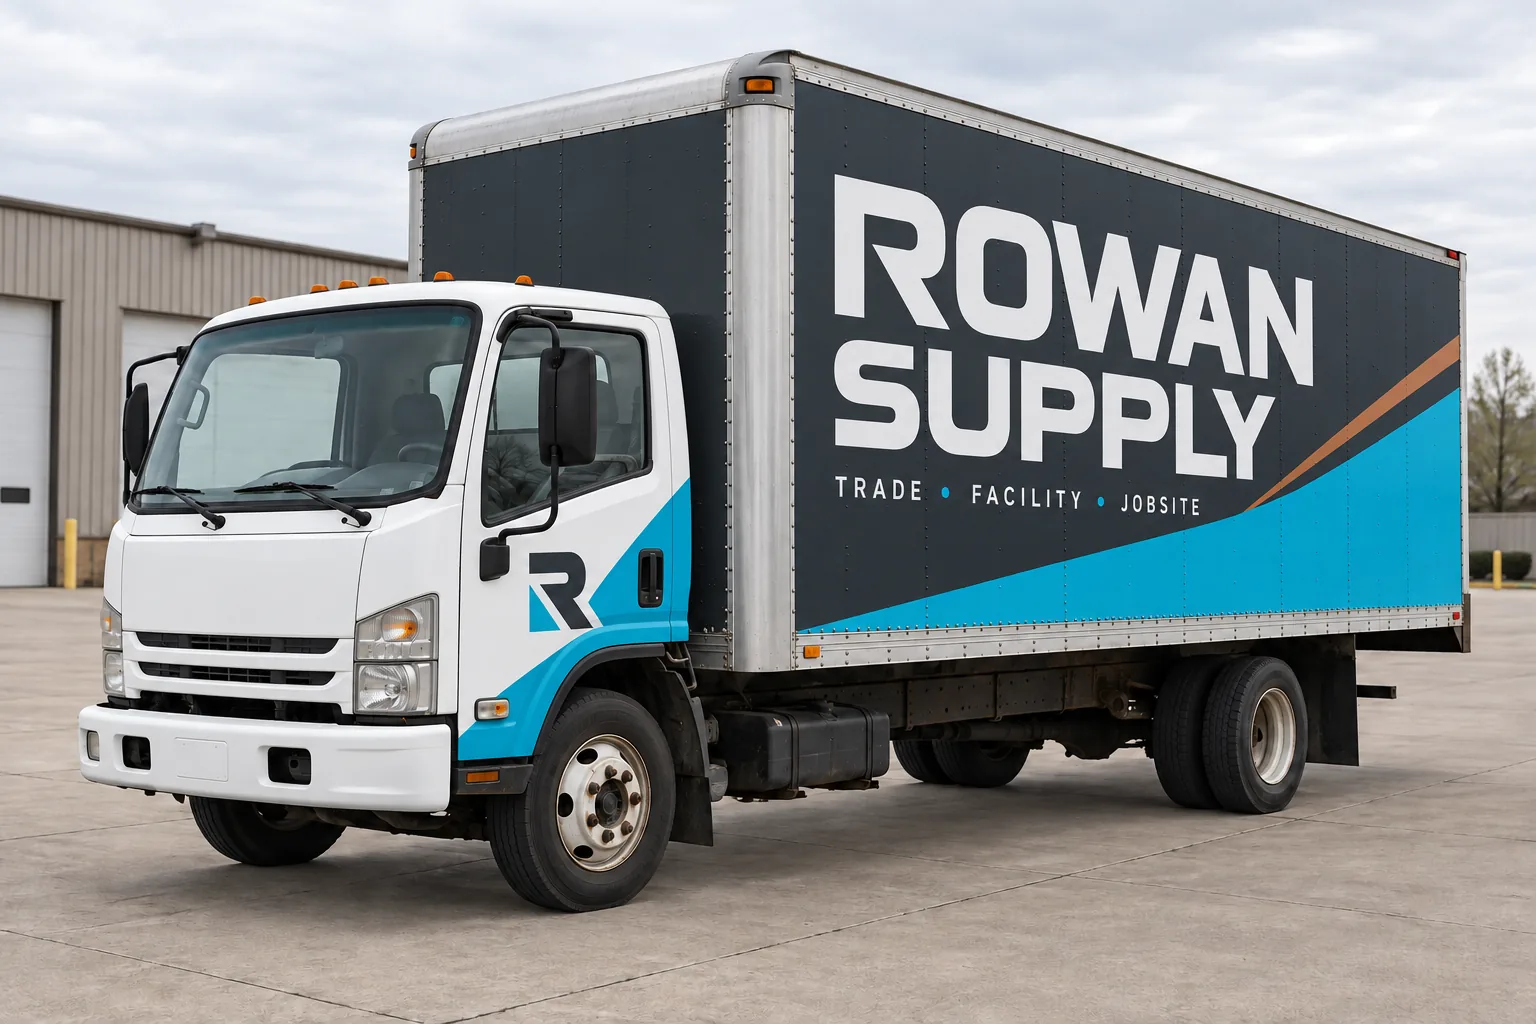
Box Truck — after
Explore this topic →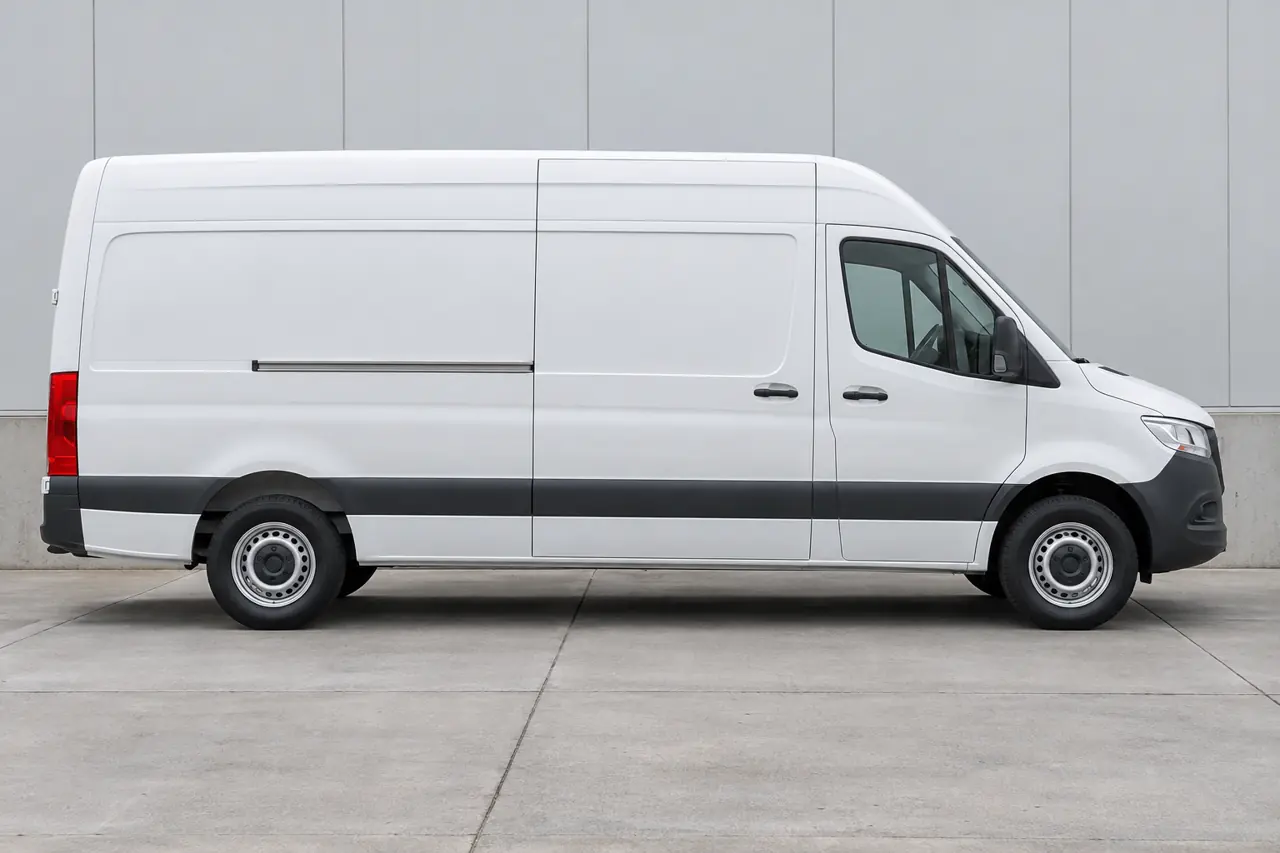
Service Van — before
Explore this topic →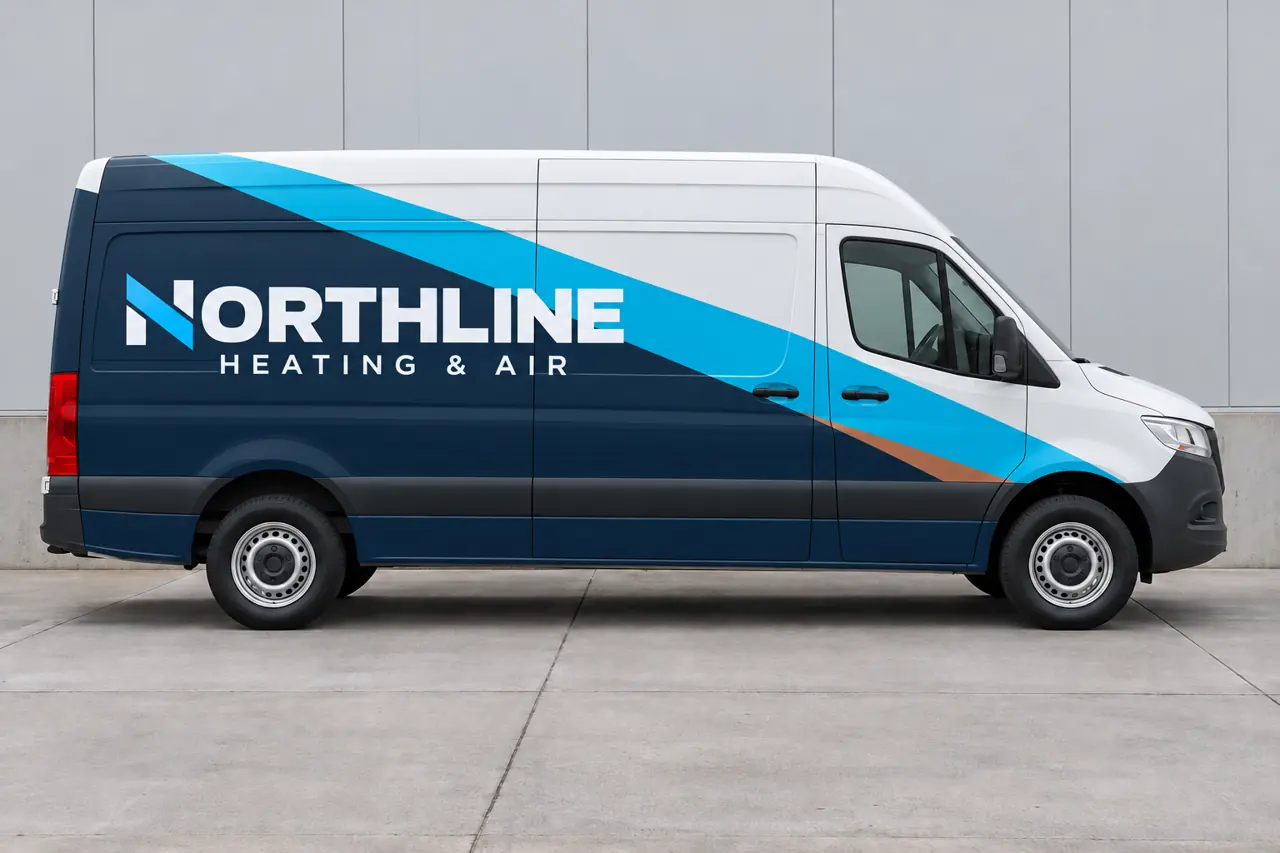
Service Van — after
Explore this topic →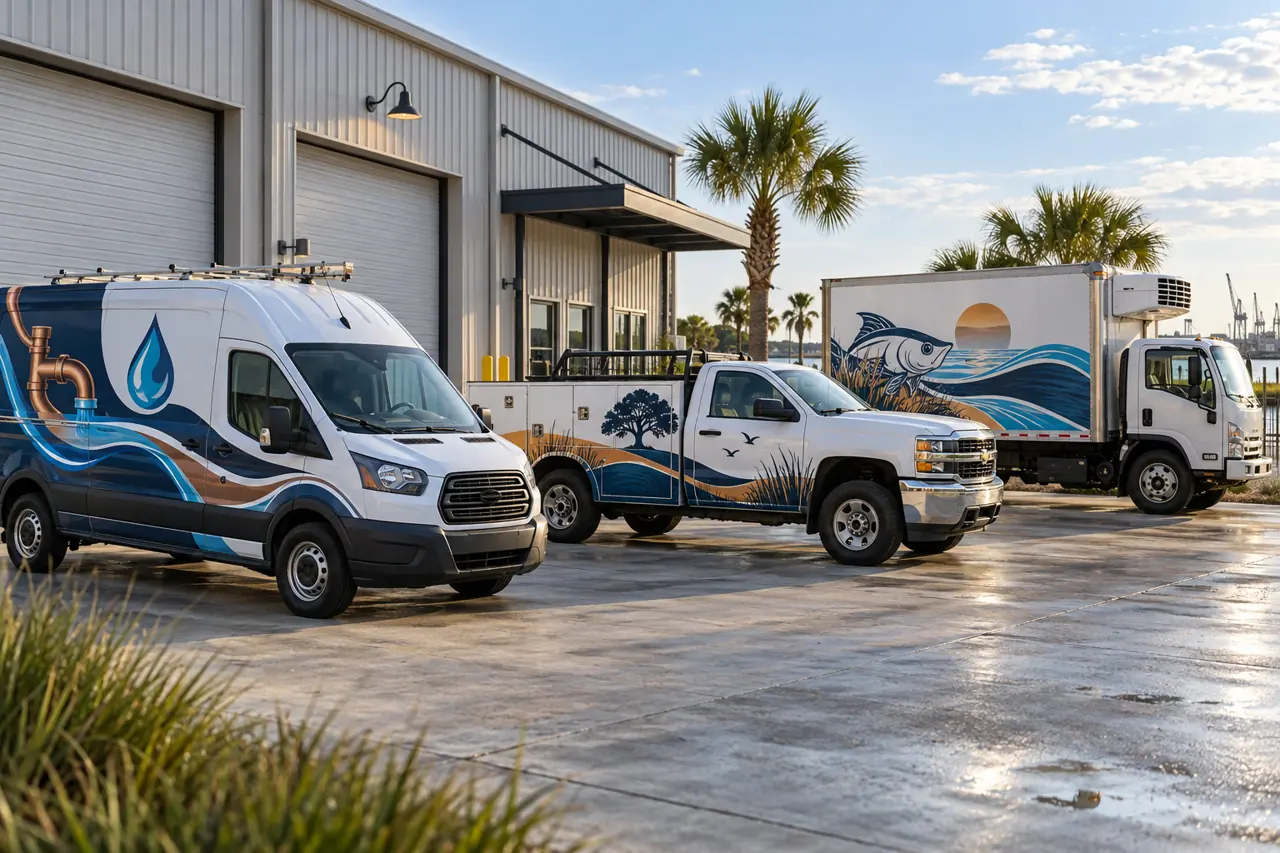
Wrap graphics for different business types
Explore this topic →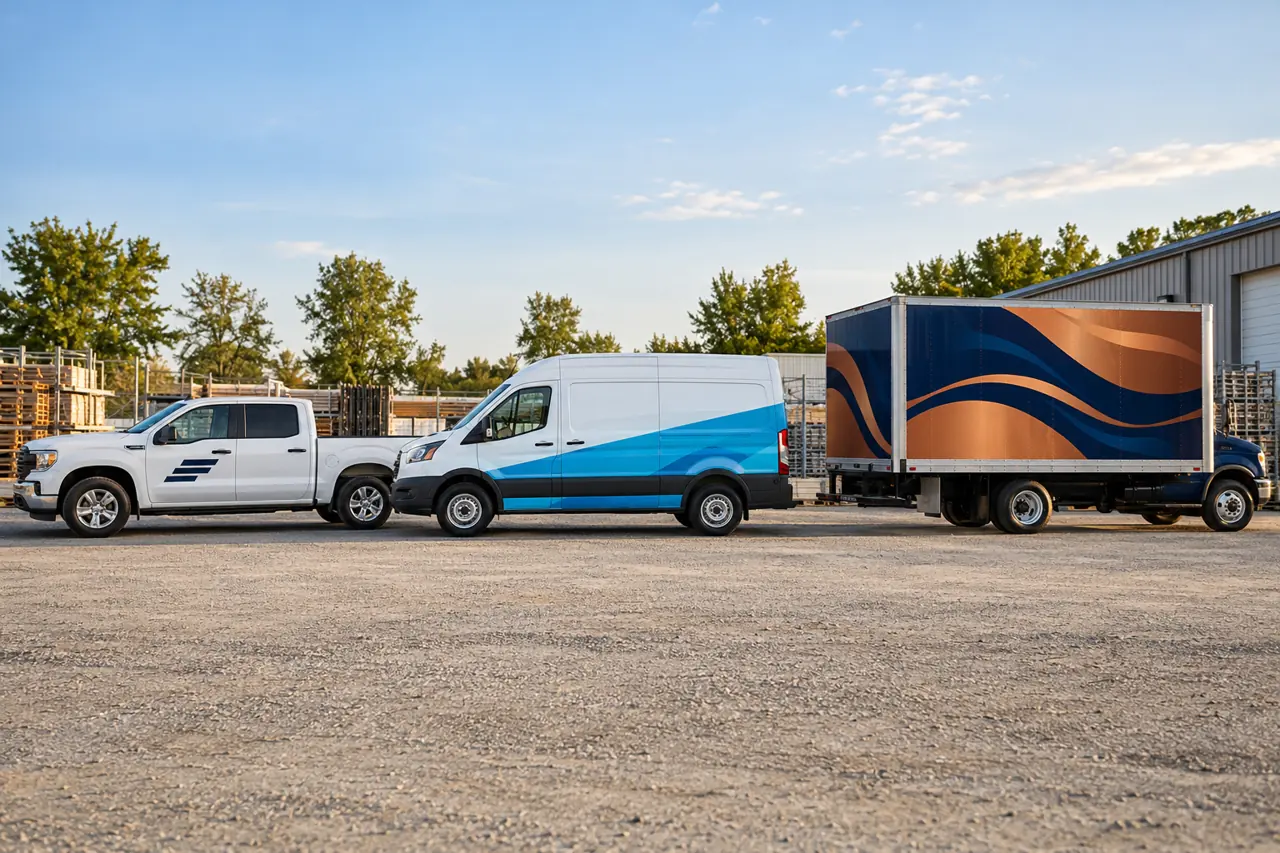
Three commercial wrap coverage approaches
Explore this topic →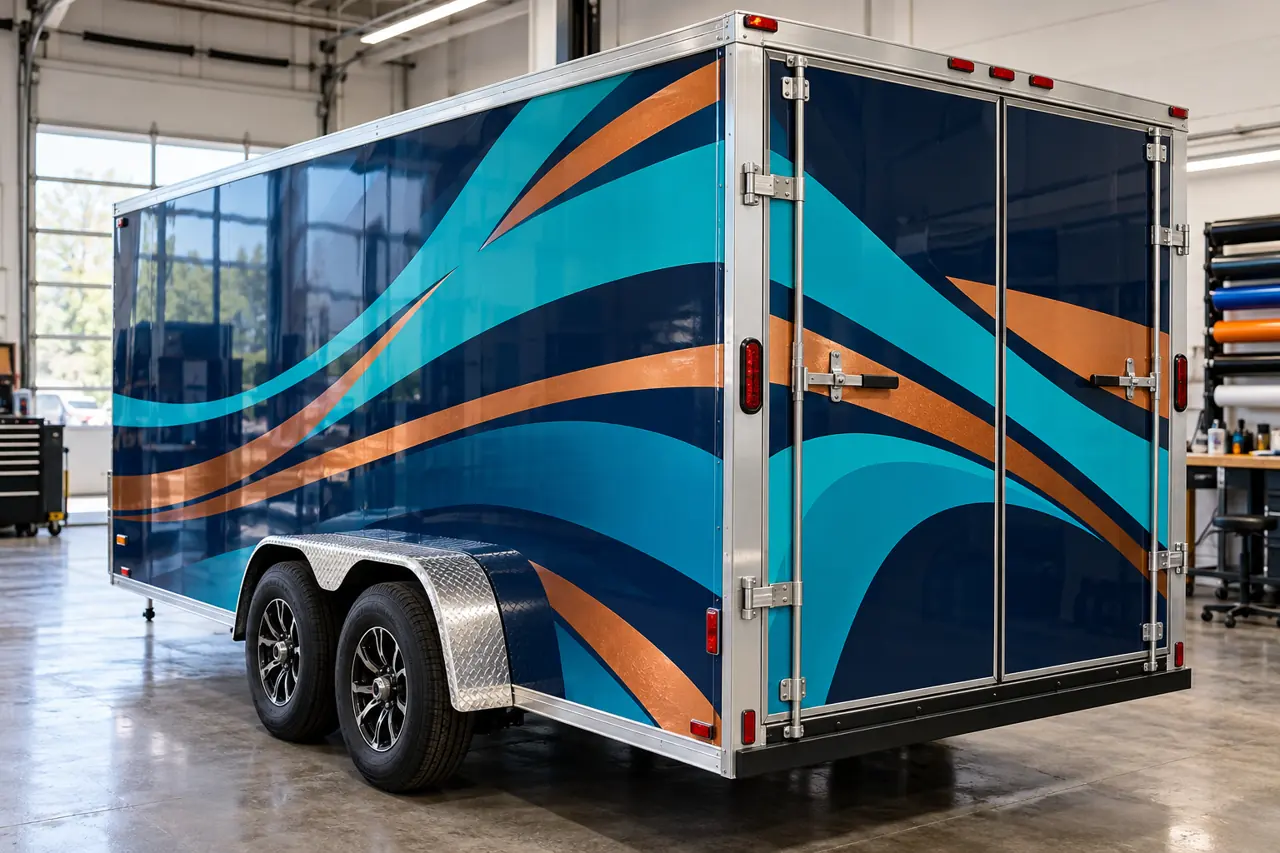
Trailer wrap and door hardware detail
Explore this topic →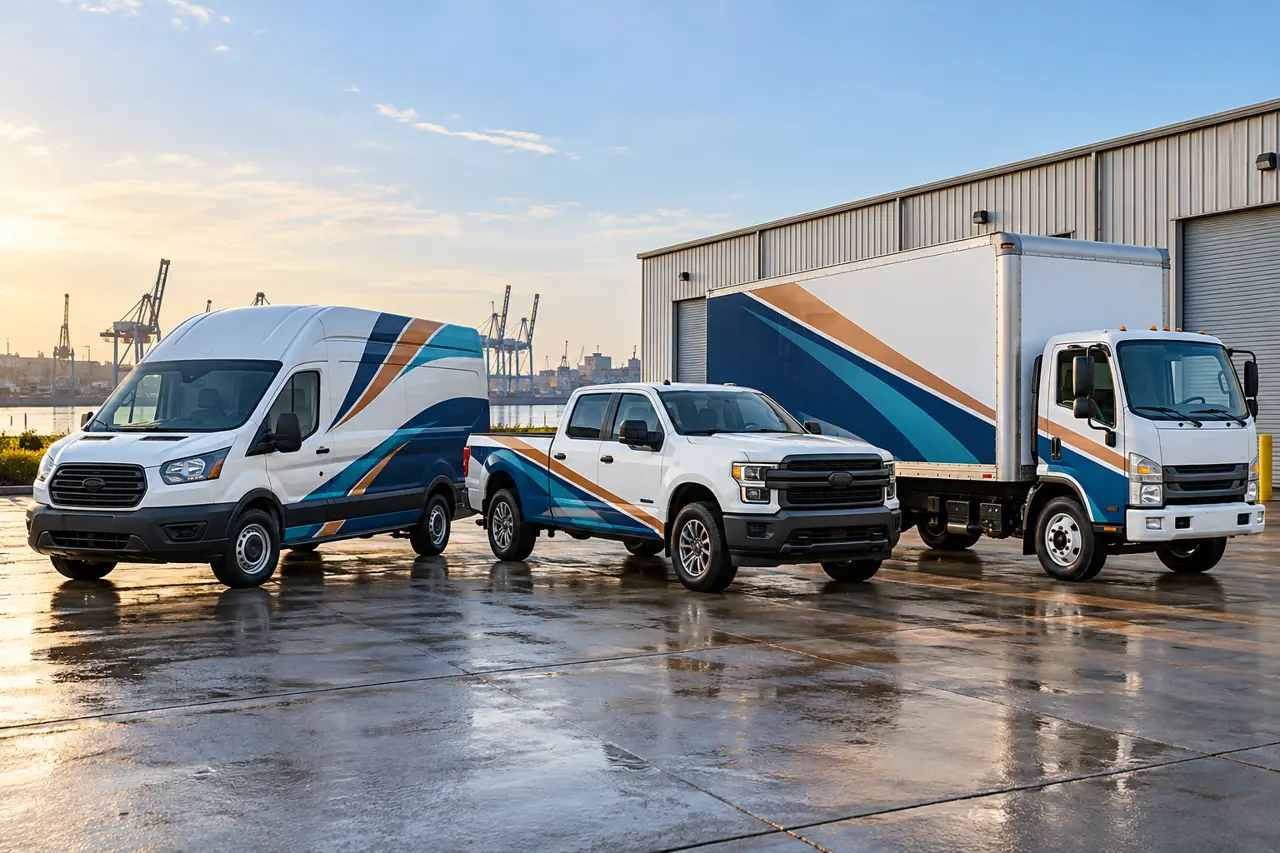
One identity across a mixed fleet
Explore this topic →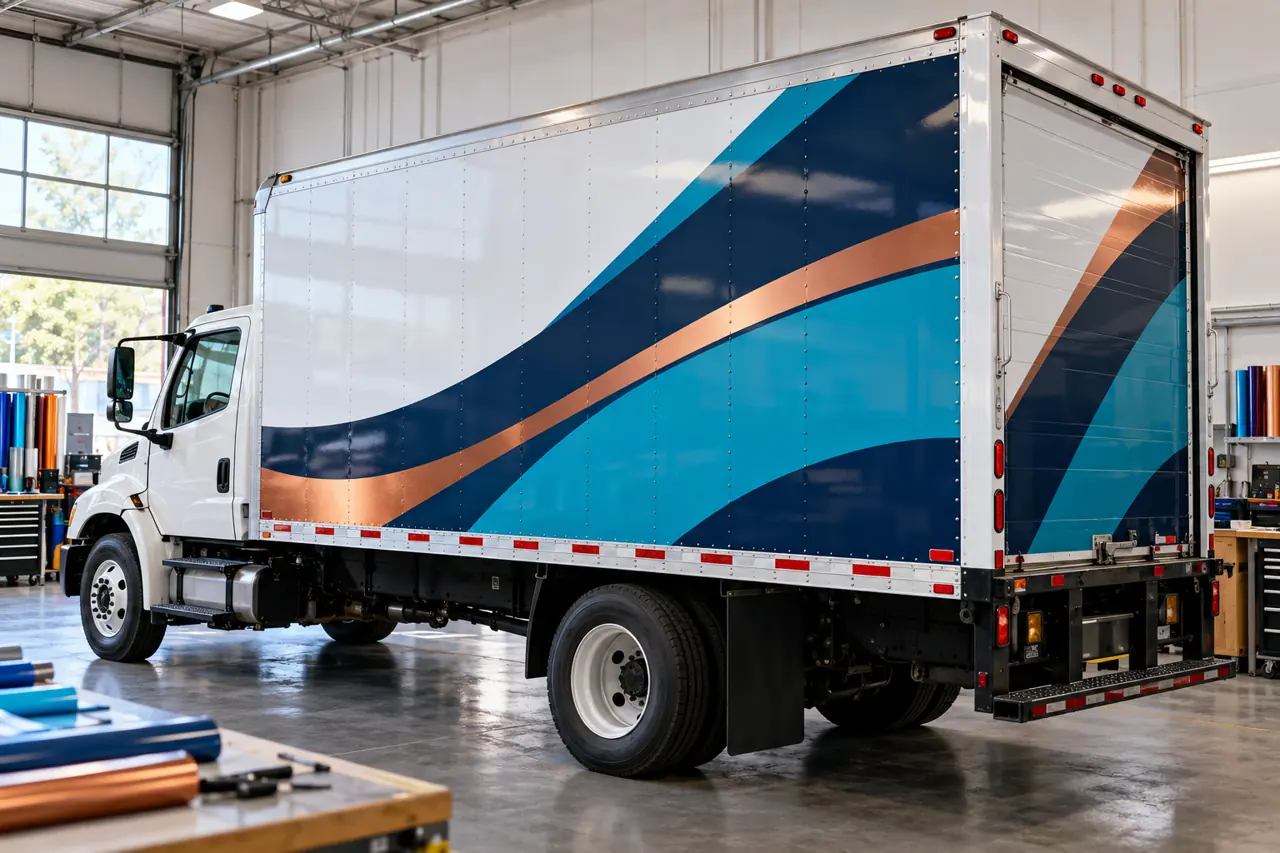
Box truck side and rear graphics detail
Explore this topic →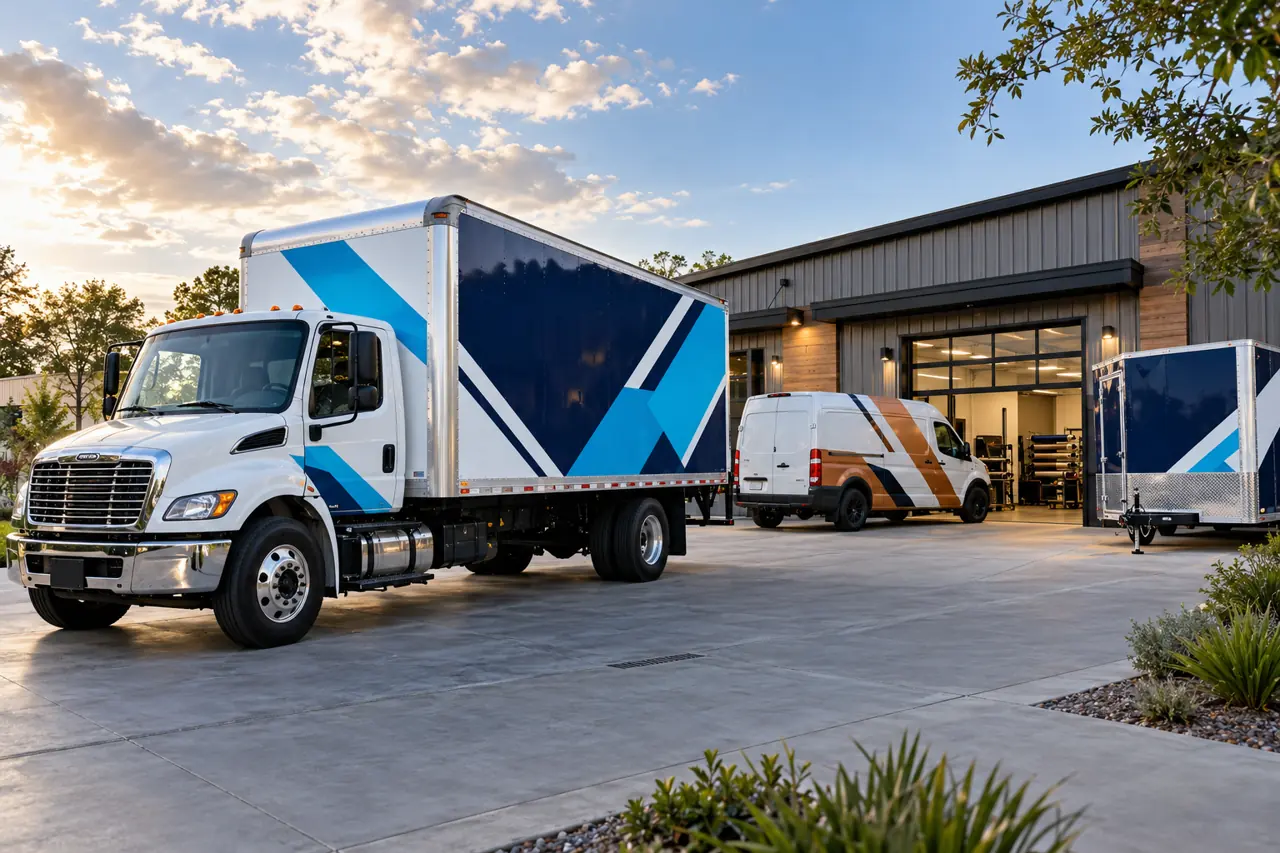
Wrap & Graphics Gallery
Explore this topic →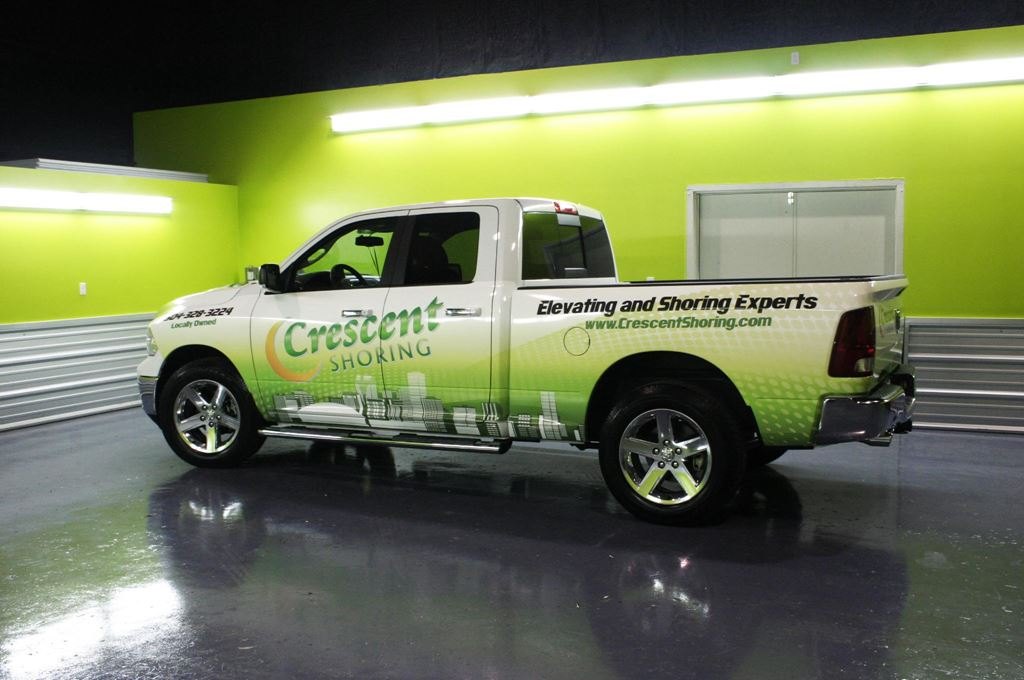
Crescent Shoring Commercial Truck Graphics – New Orleans
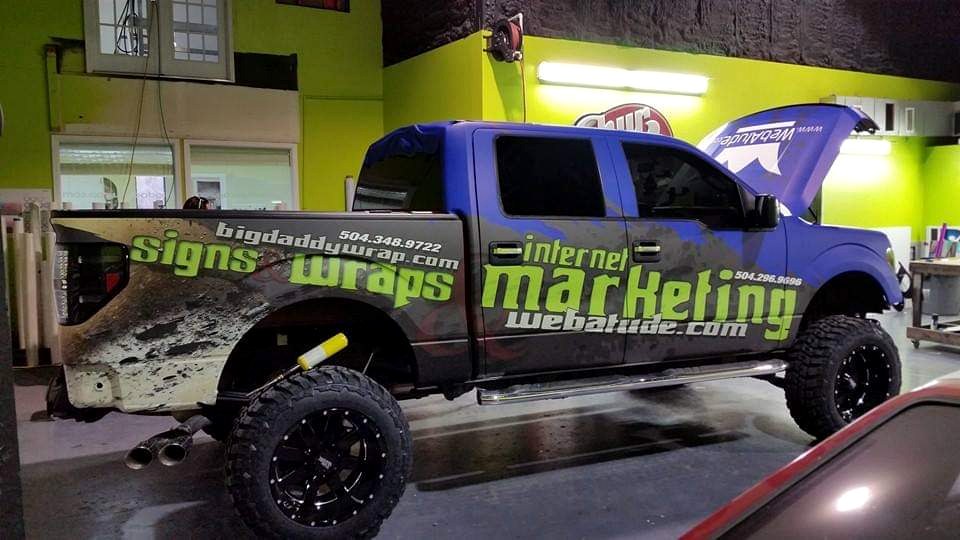
Commercial Truck Wrap – New Orleans
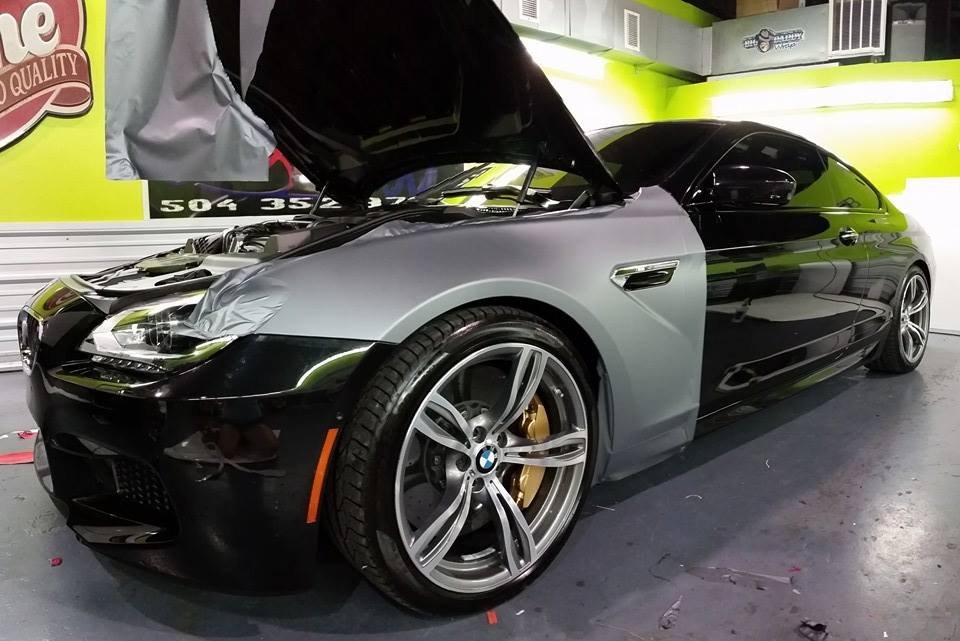
Matte Gray Vehicle Wrap – New Orleans
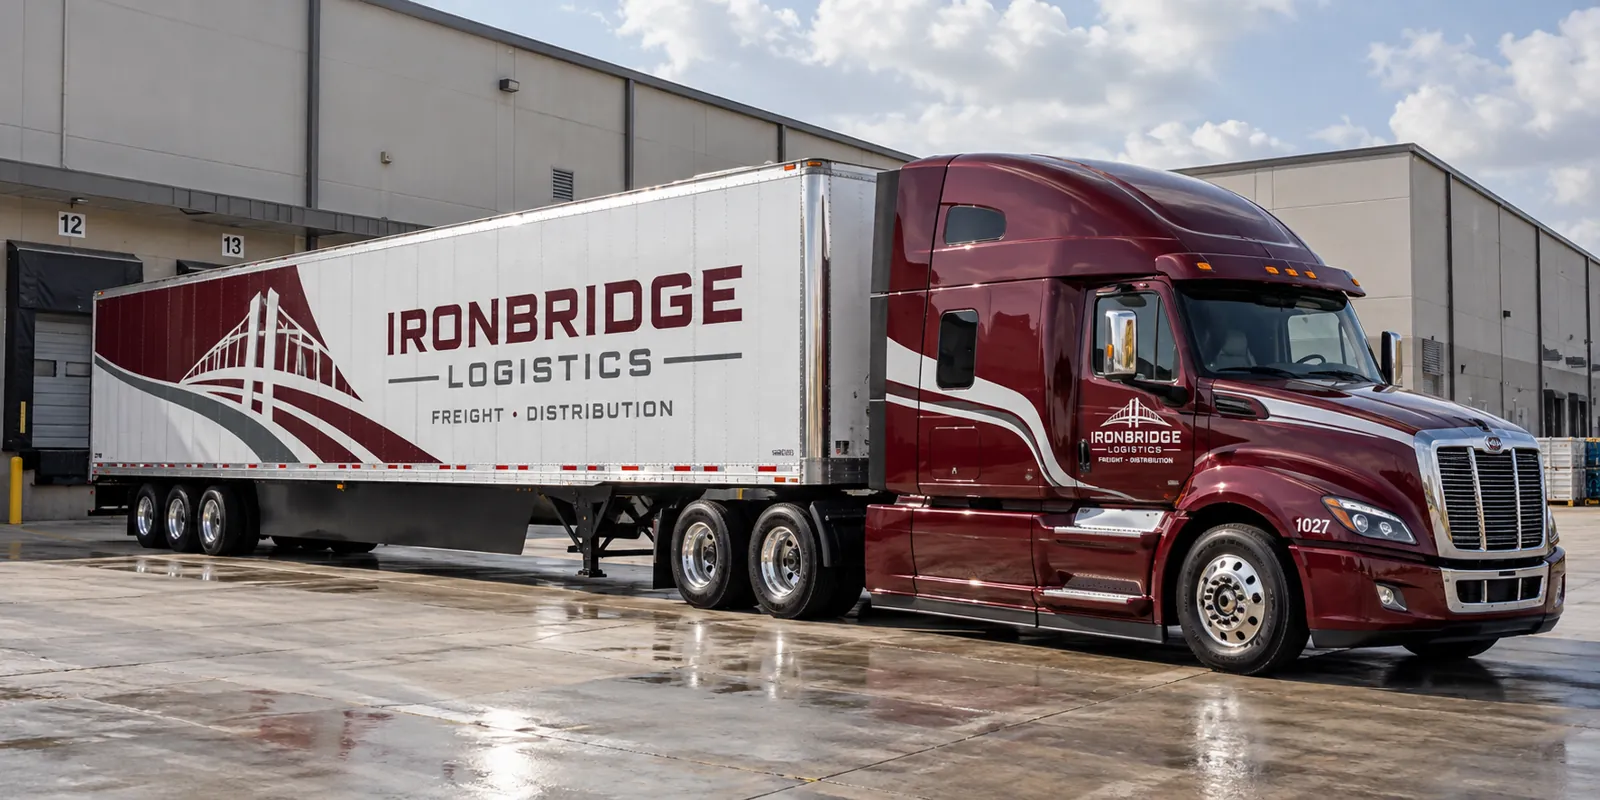
Semi-Truck & Tractor-Trailer Graphics
Explore this topic →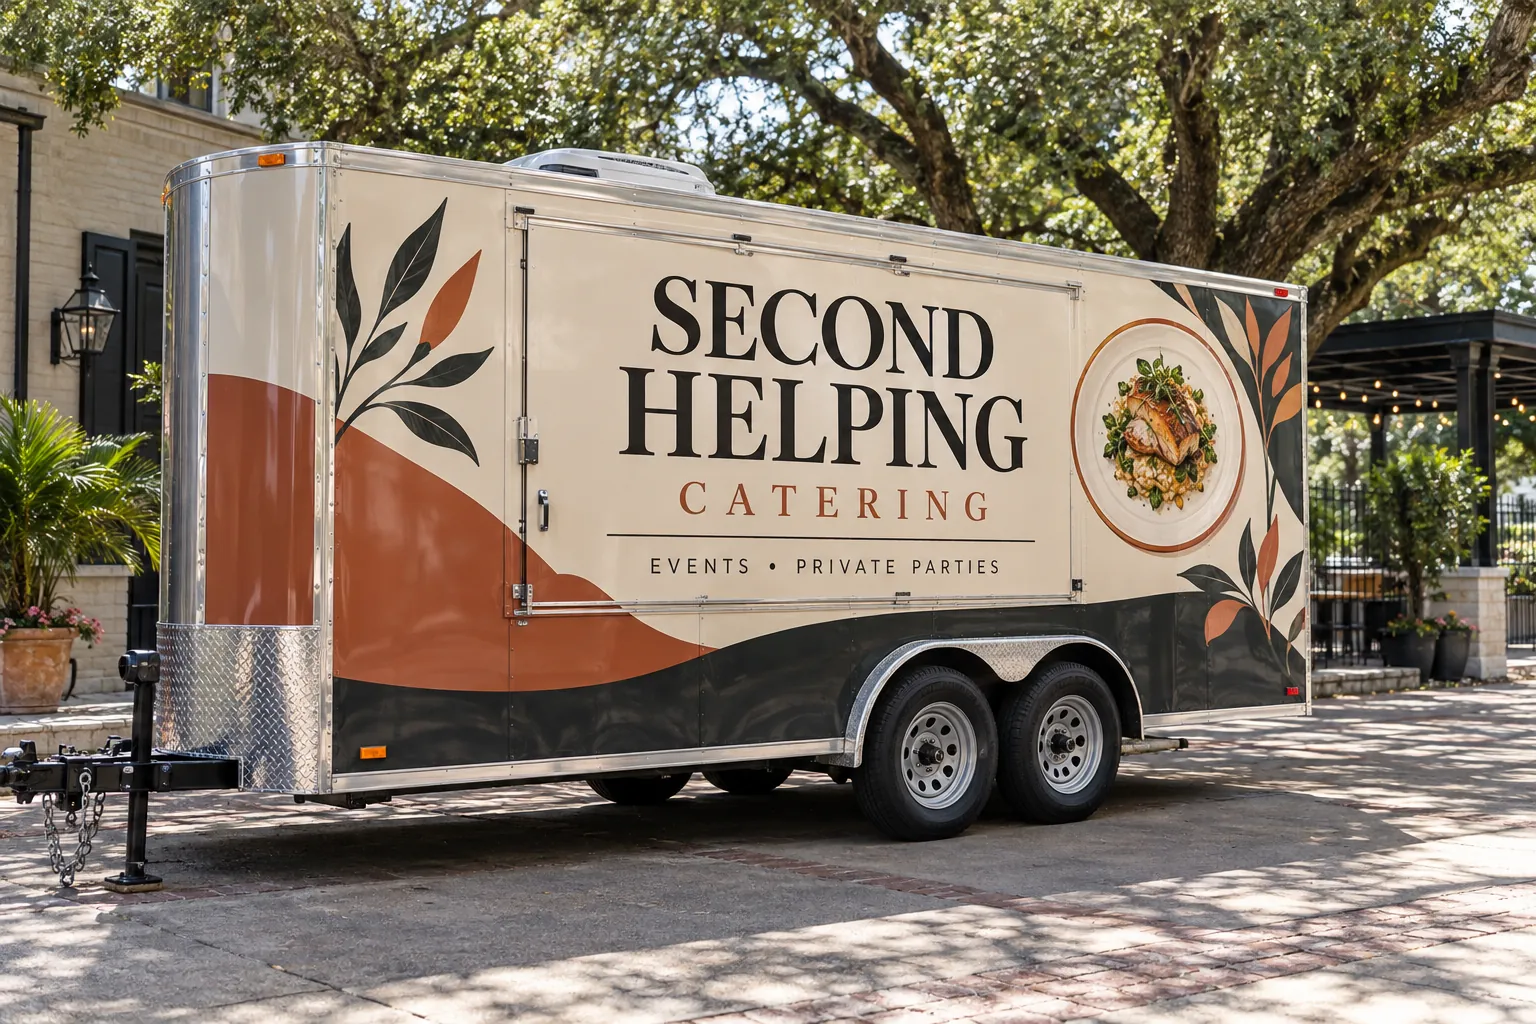
Food & Beverage
Explore this topic →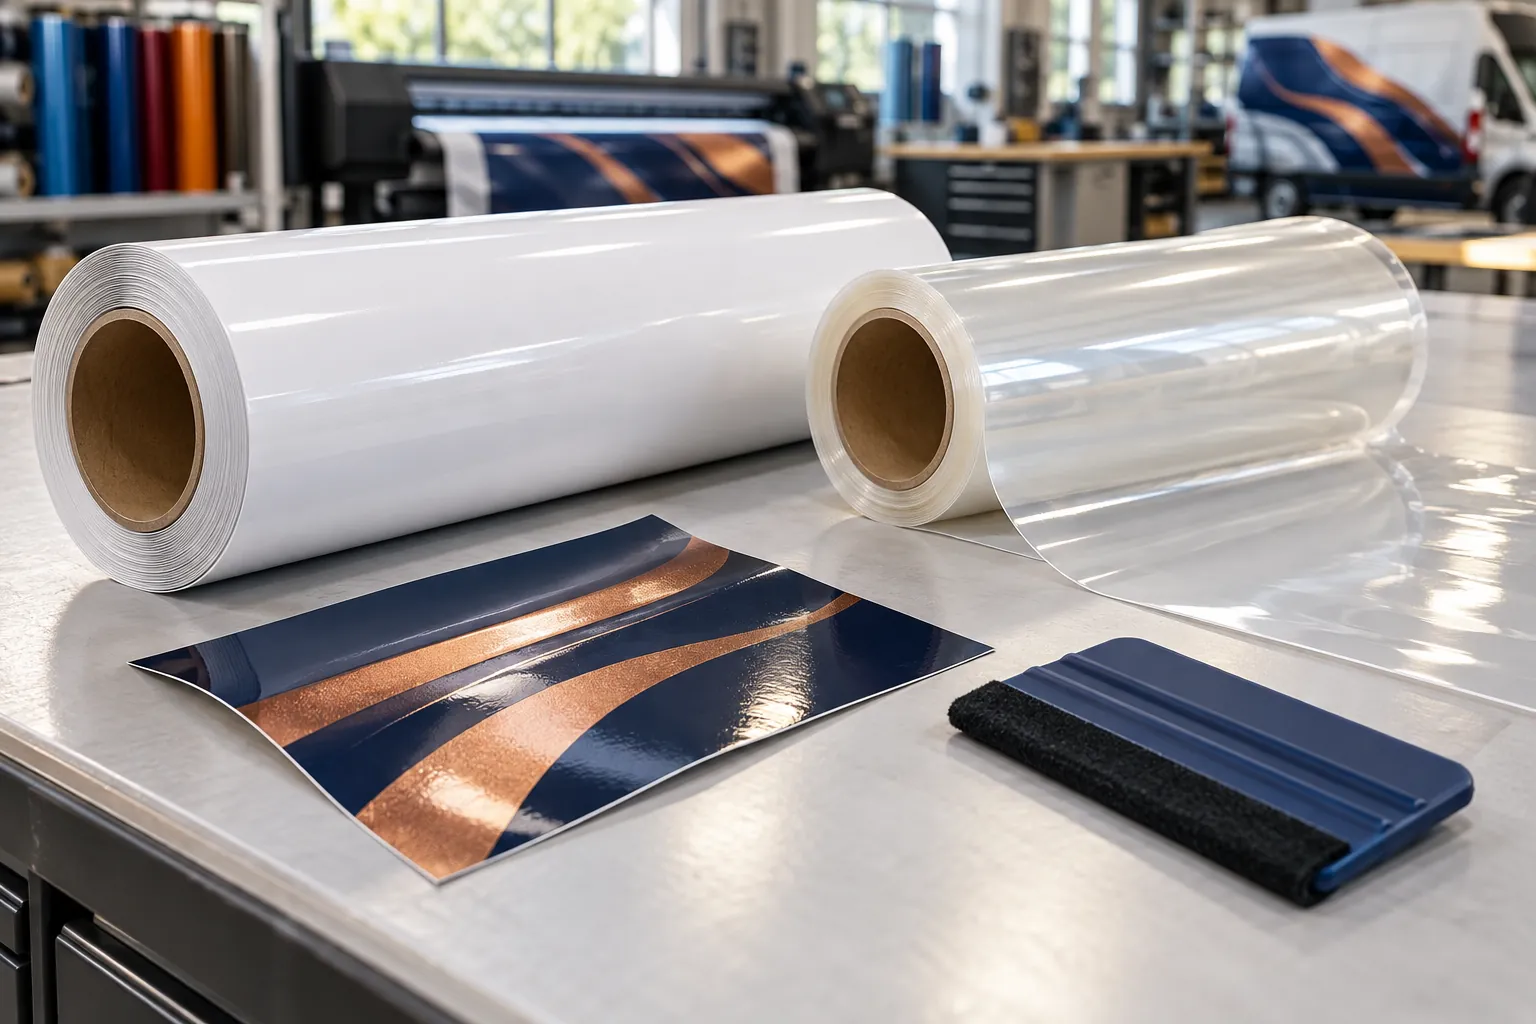
Materials & Installation Guidance
Explore this topic →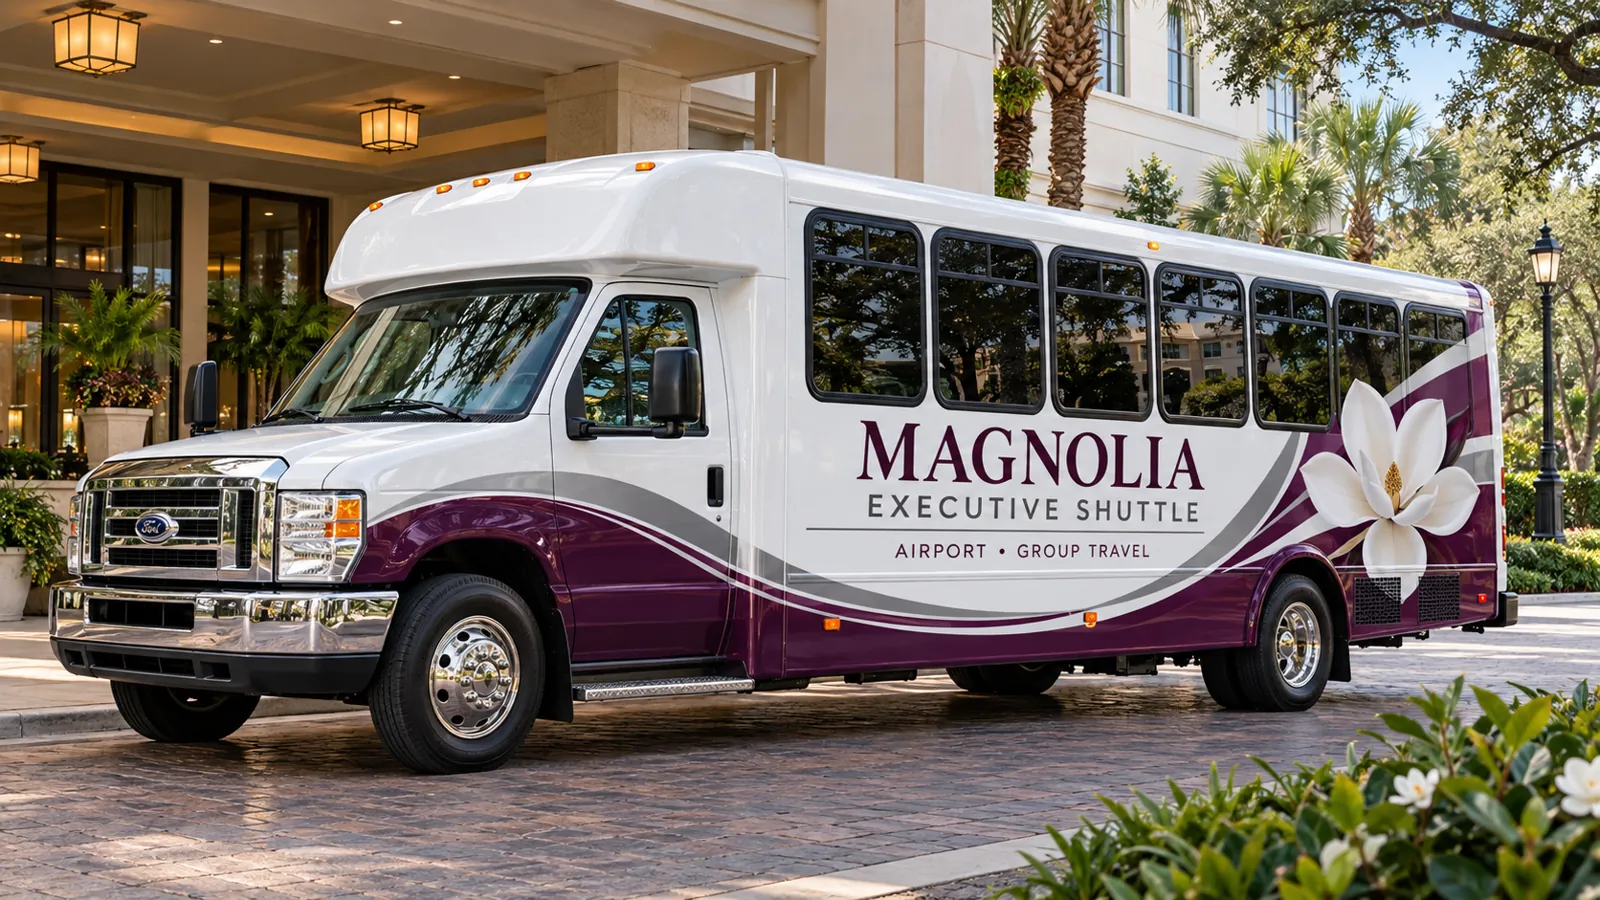
Shuttle Bus Graphics
Explore this topic →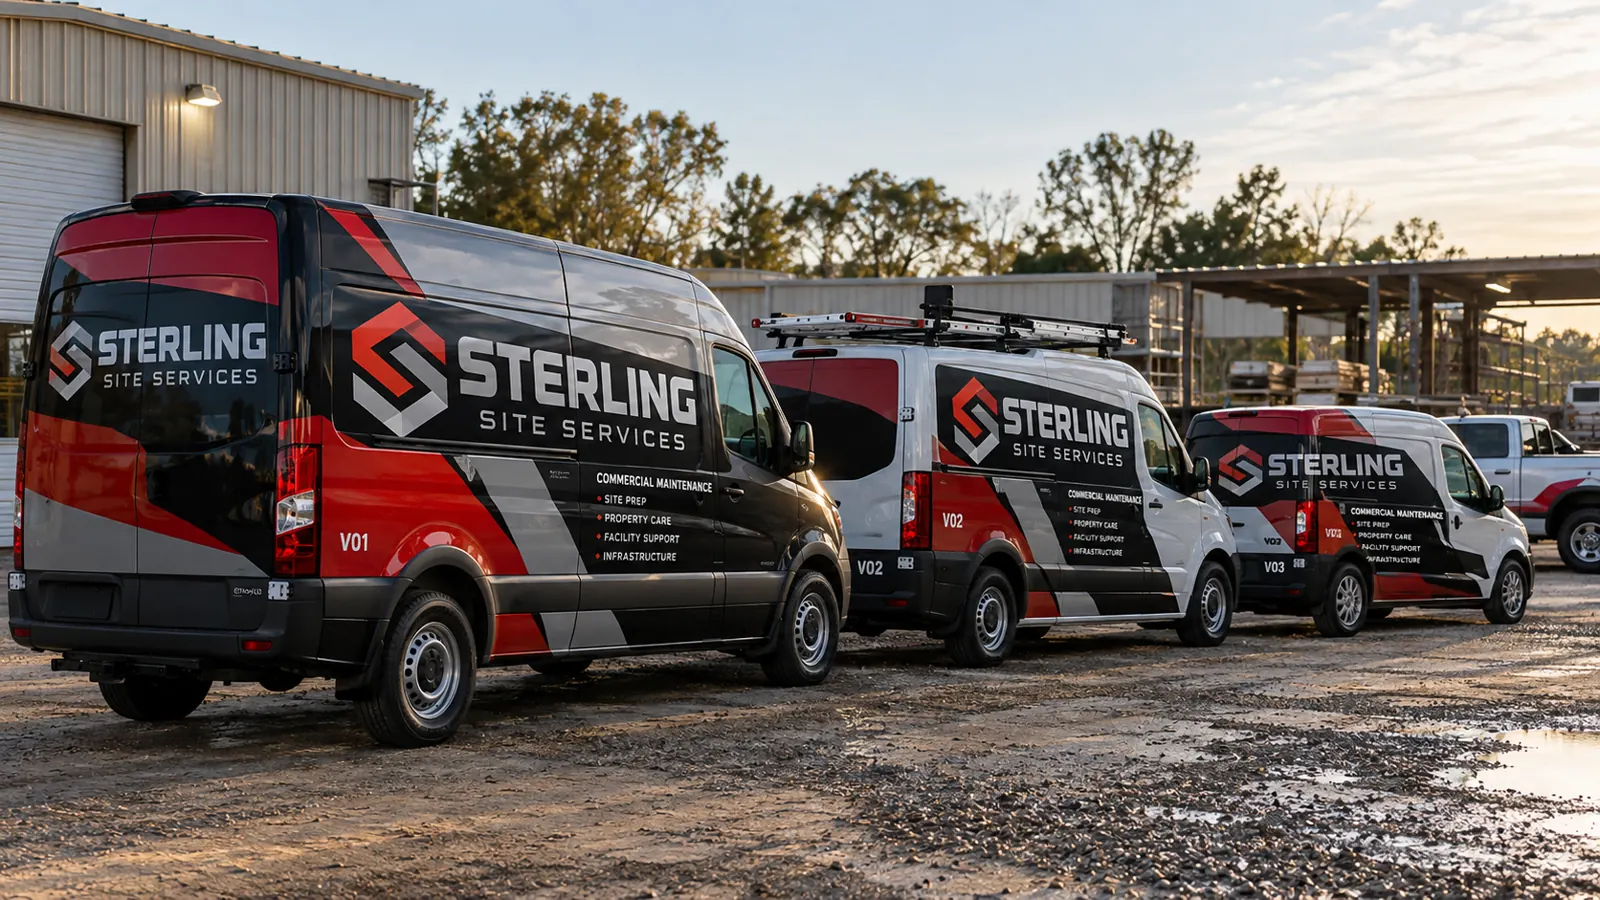
Fleet Solutions
Explore this topic →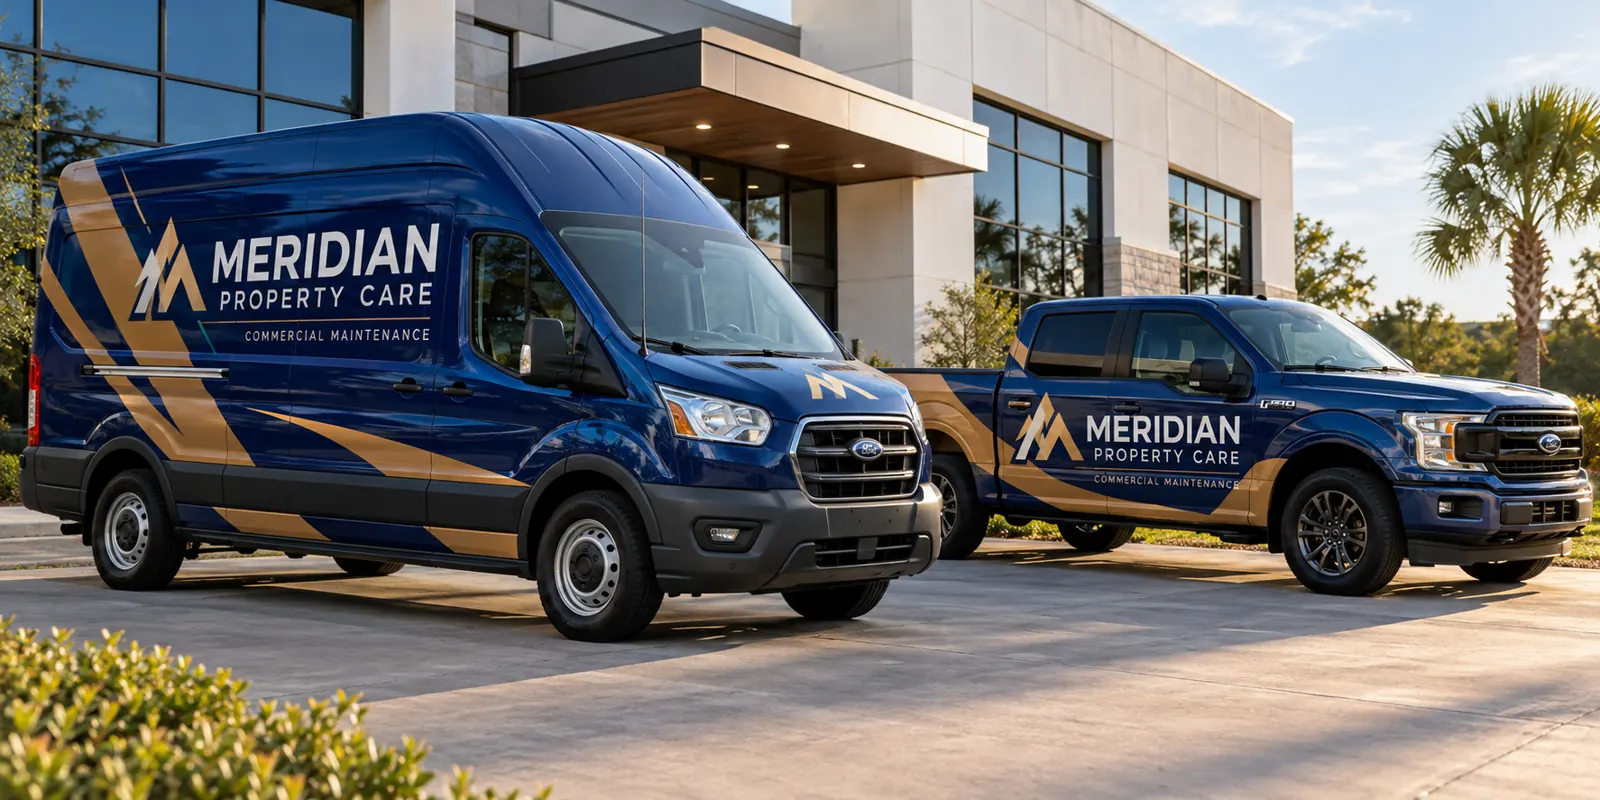
Commercial Vehicle Wraps
Explore this topic →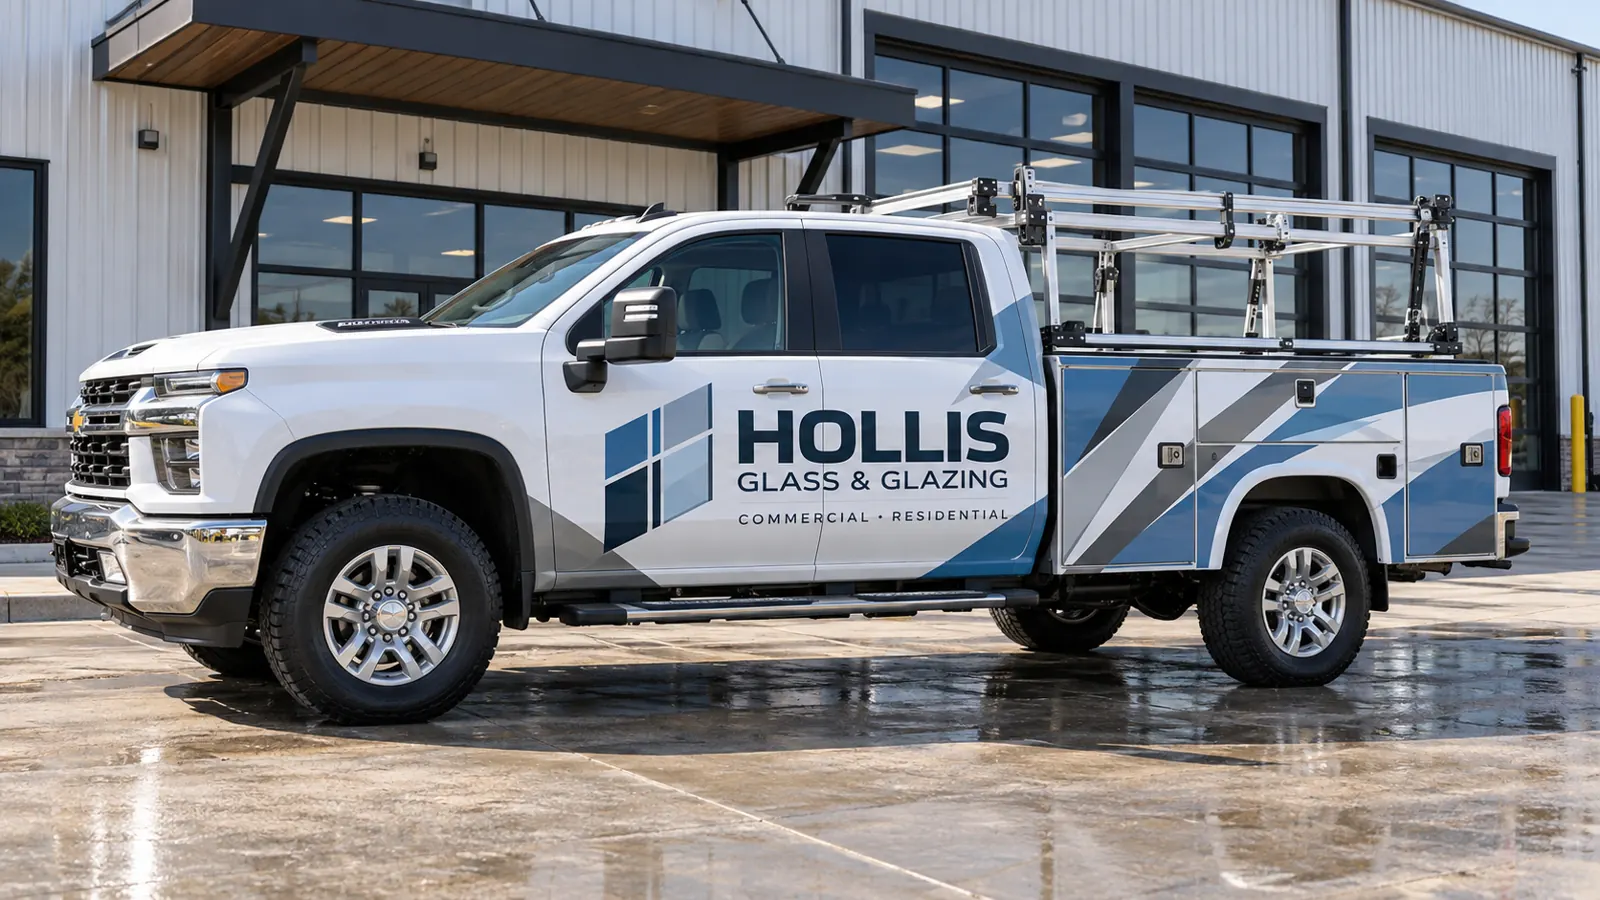
Truck Wraps
Explore this topic →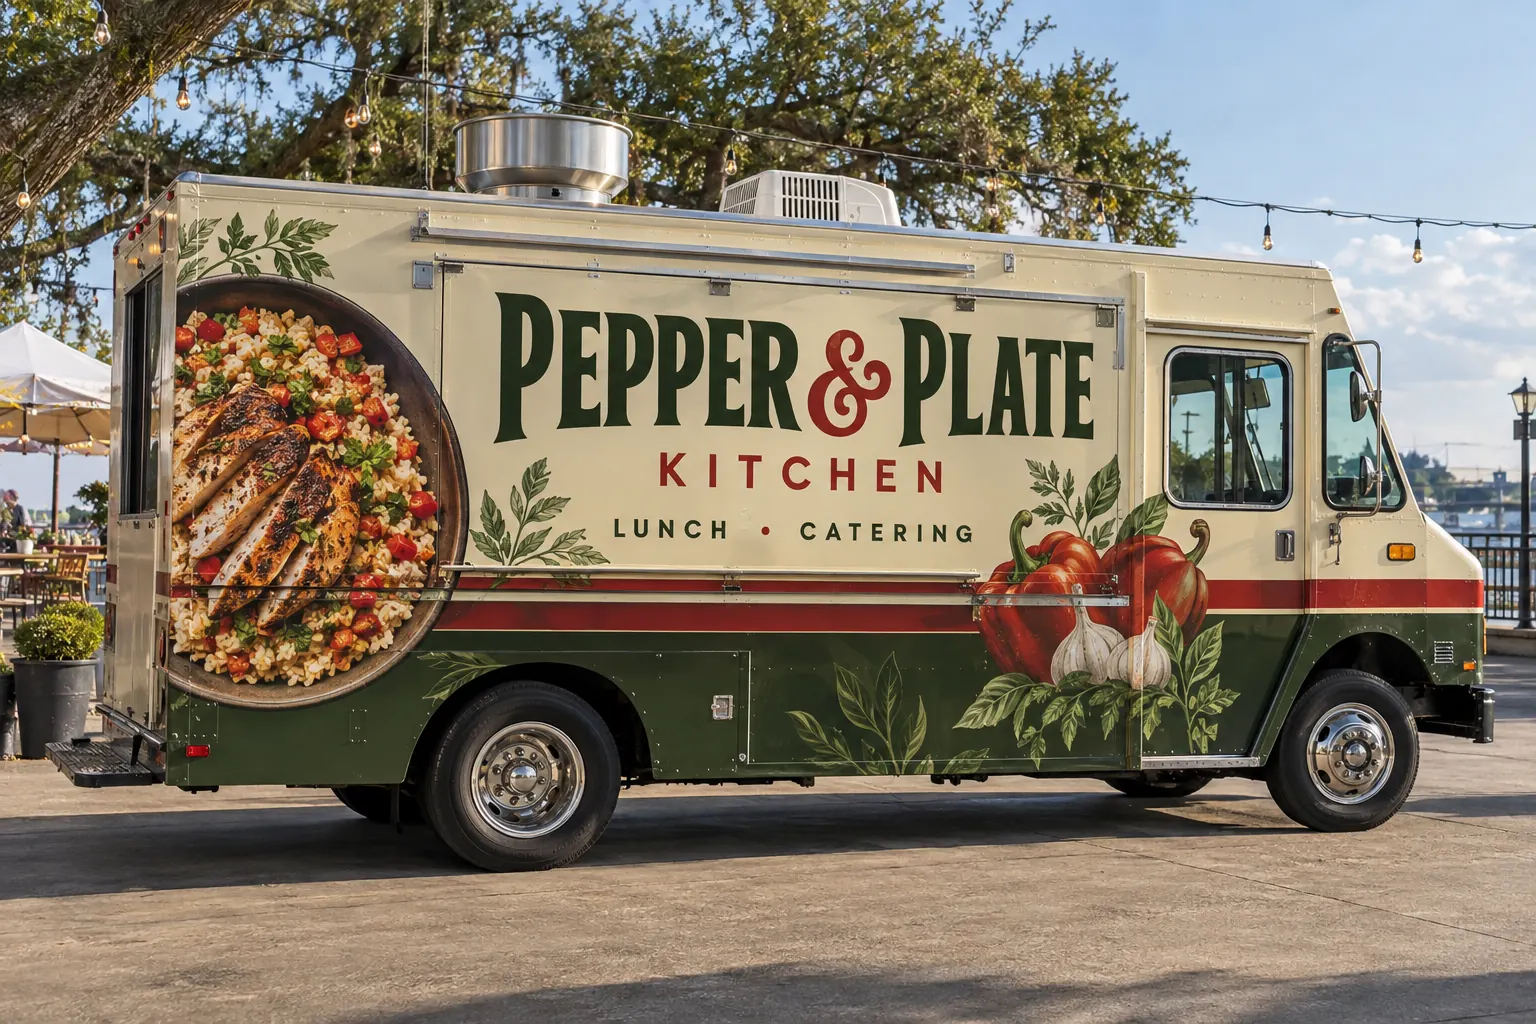
Food Truck Wraps
Explore this topic →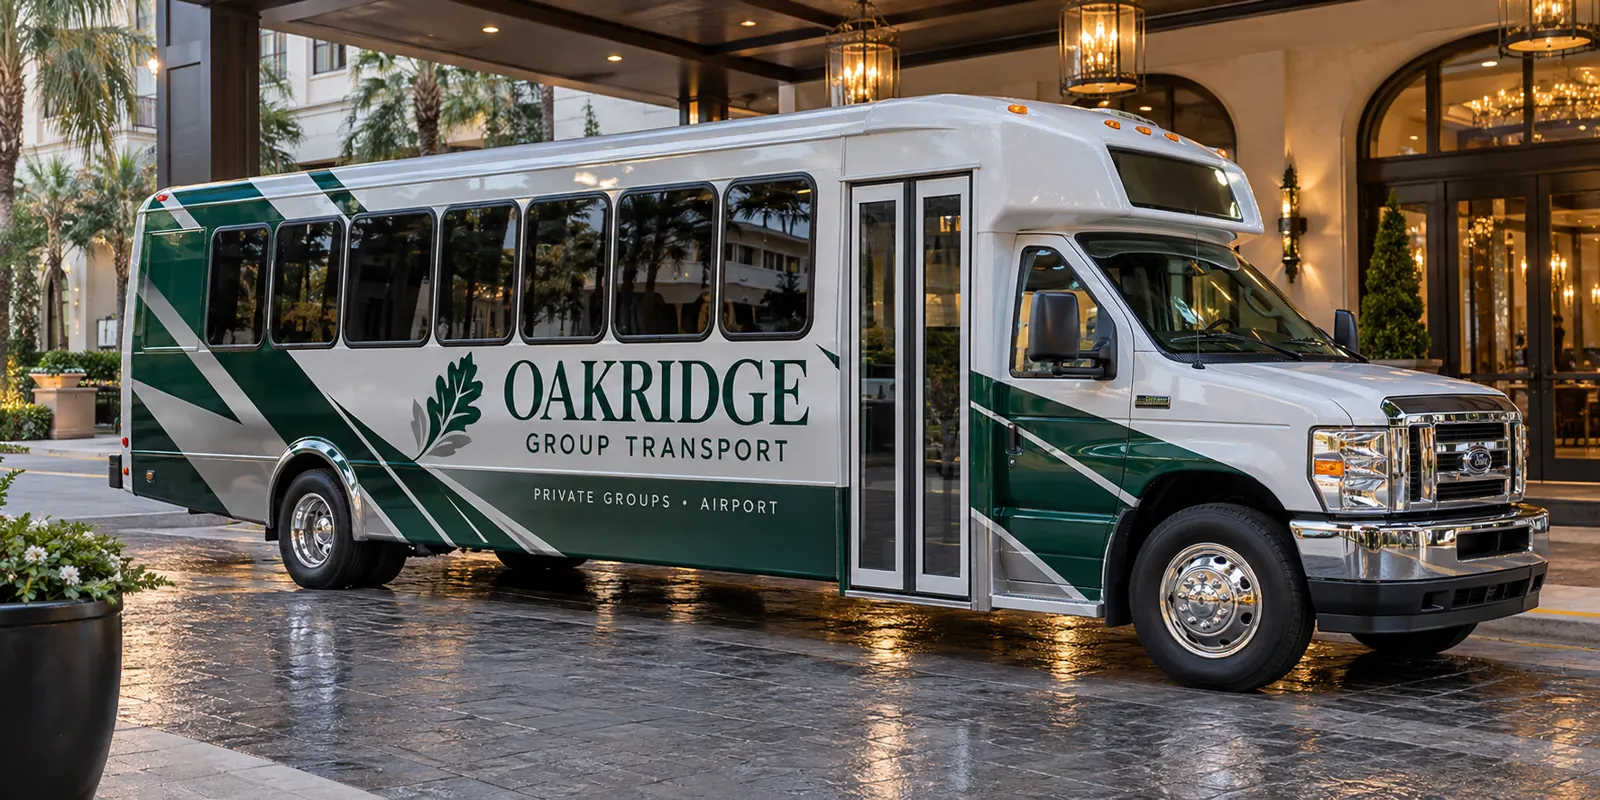
Bus & Shuttle Wraps
Explore this topic →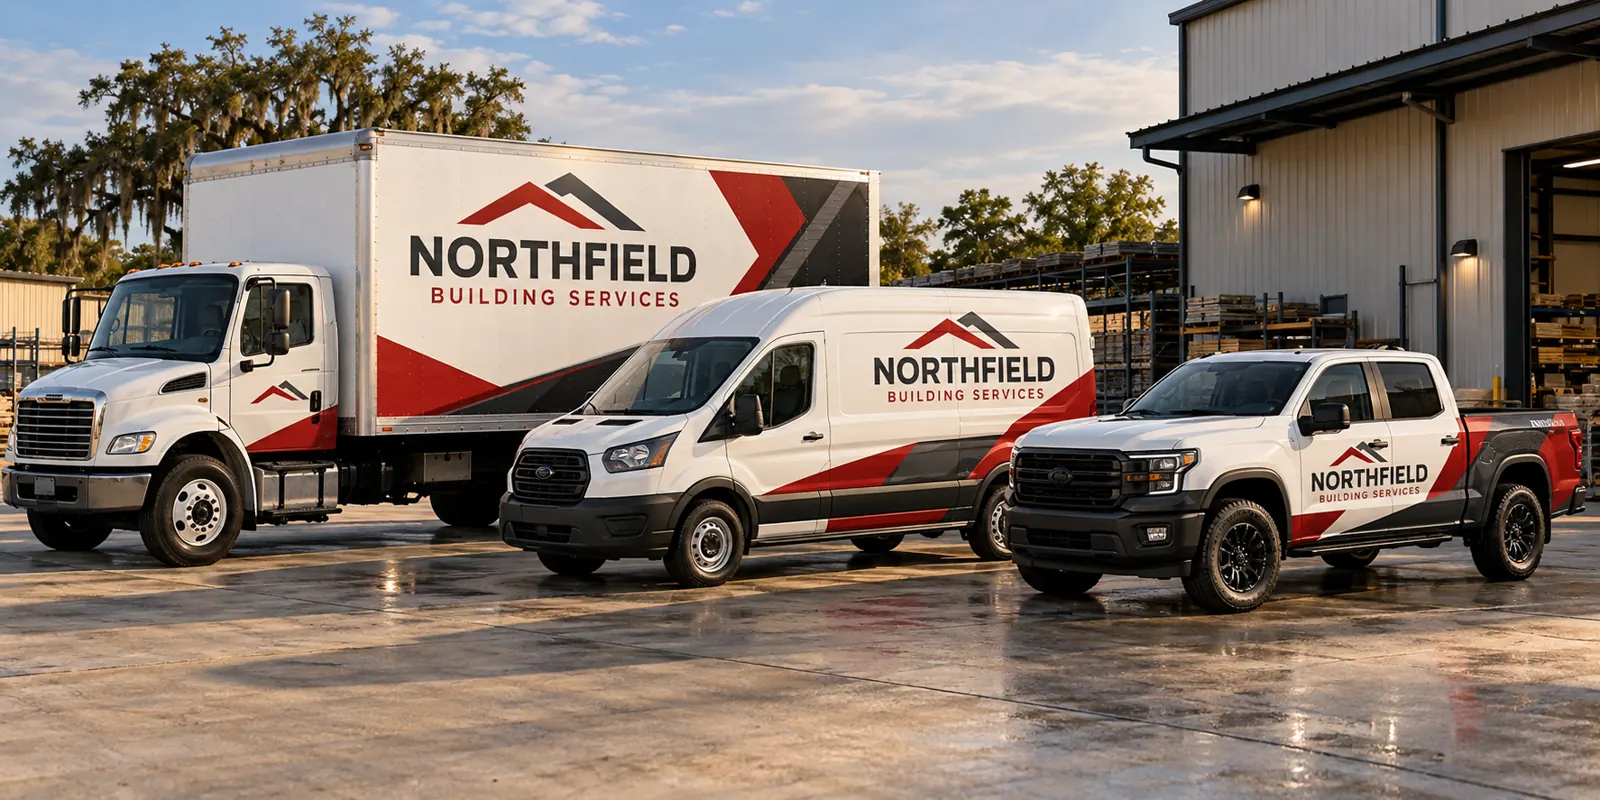
Fleet Rebranding
Explore this topic →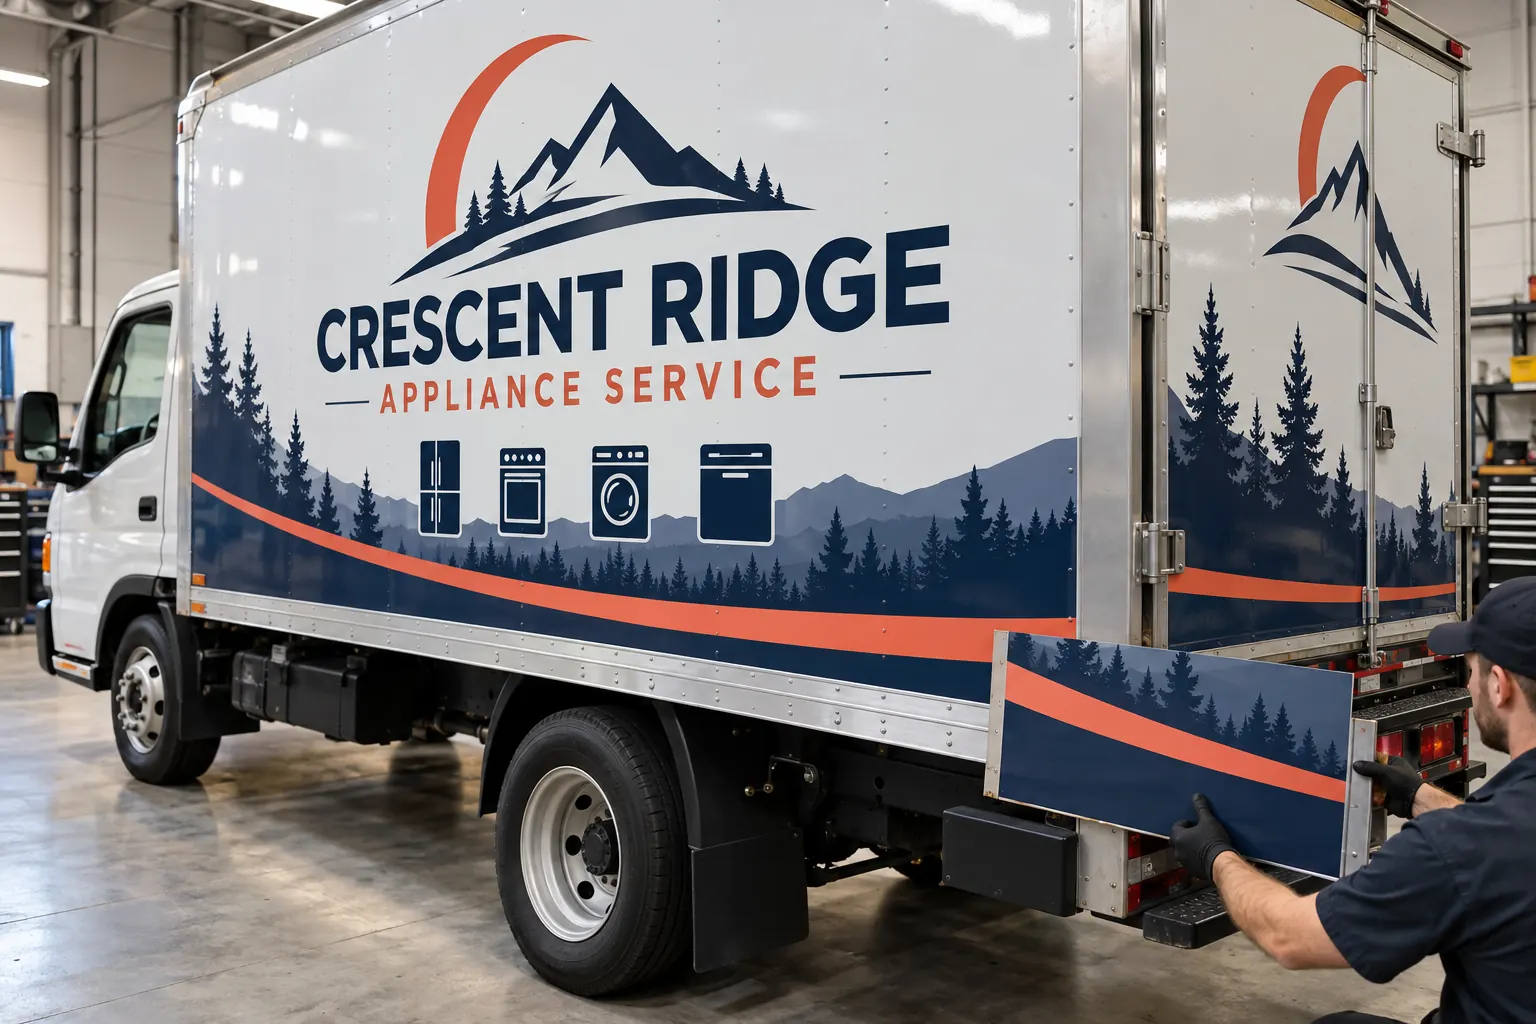
Fleet Damage & Panel Replacement
Explore this topic →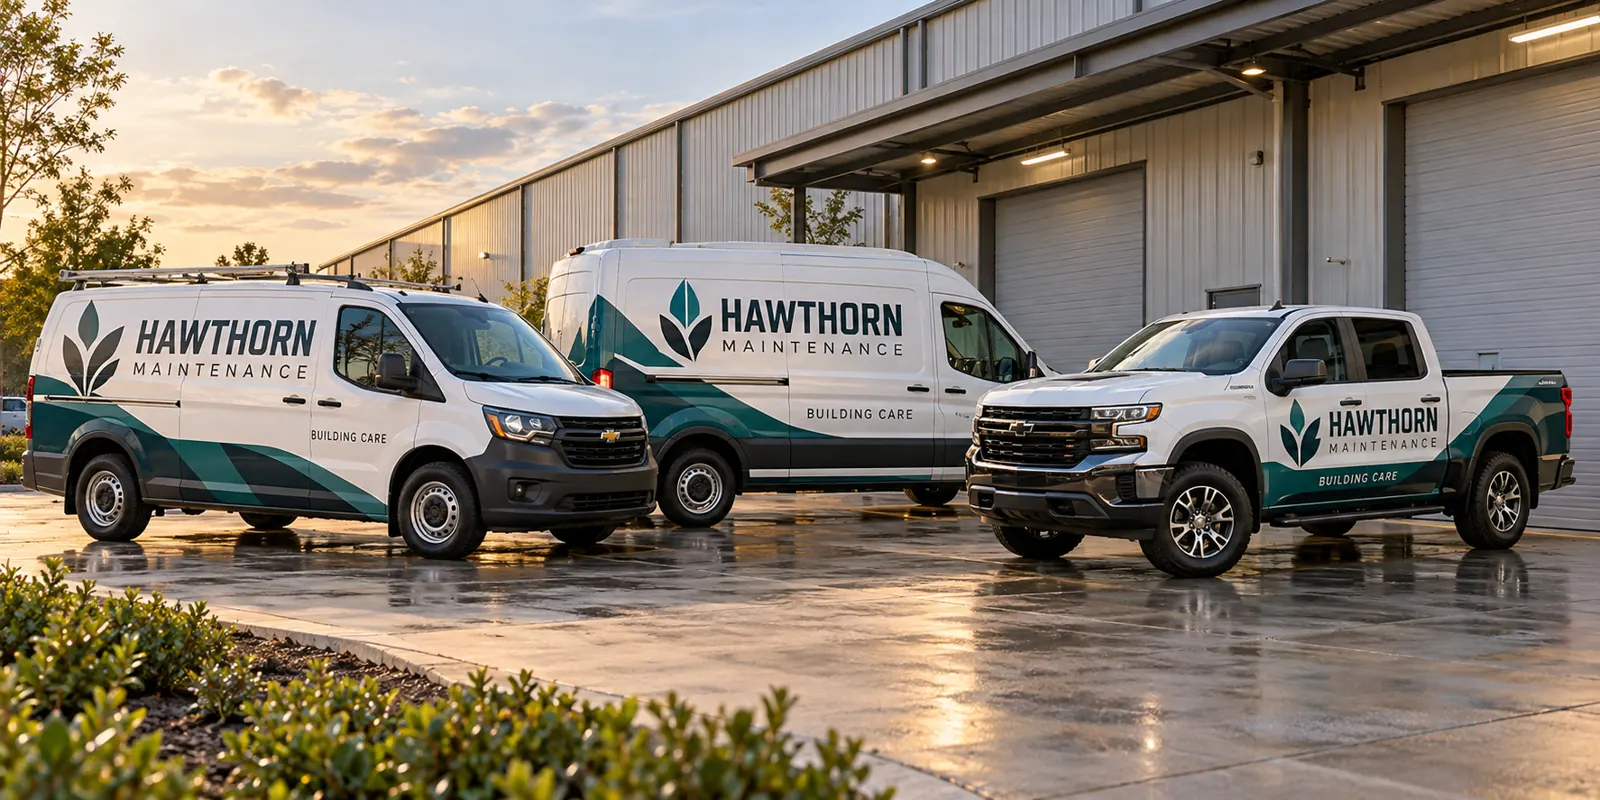
Fleet Graphics Management
Explore this topic →See the change, side by side
Move each slider or use the Before and After buttons to explore three wrap design directions.
From a Weathered Box Truck to a Clear Business Identity
Move the slider to compare the same box truck with a new wrap design.
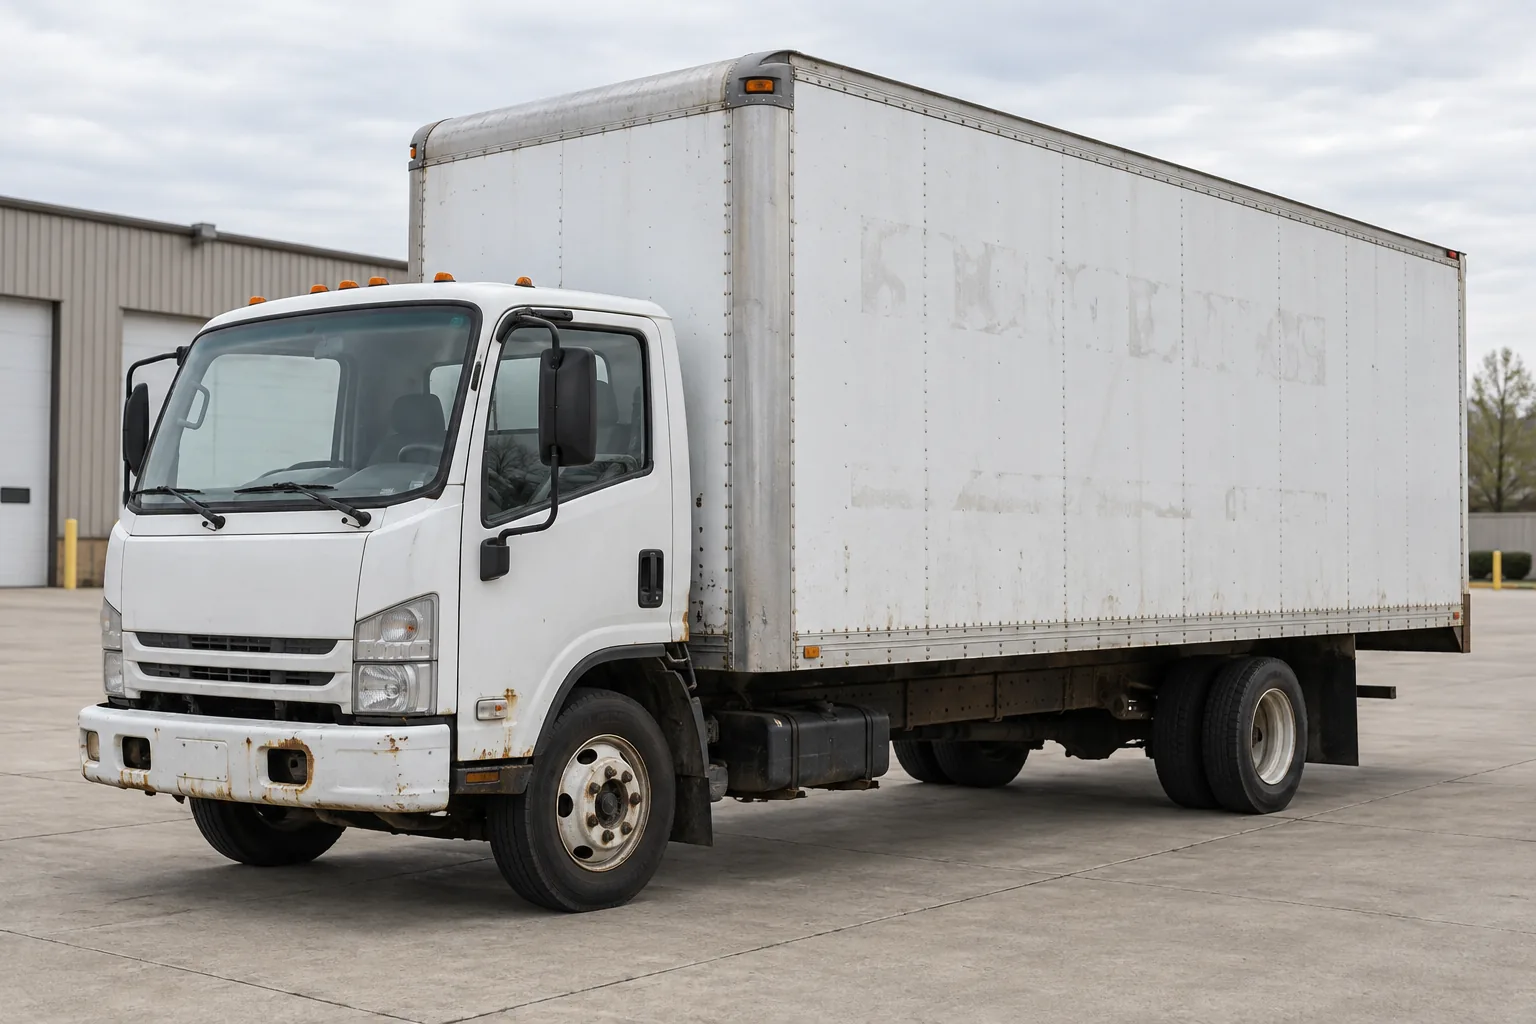
The after-view assumes a sound, properly prepared surface. Rust, failed paint and damaged panels need assessment and appropriate repair before graphics.
From a White Van to a Recognizable Business
Move the slider to compare the same service van with a new wrap design.
The after-view assumes a sound, properly prepared surface. Rust, failed paint and damaged panels need assessment and appropriate repair before graphics.
A Fresh Identity for an Older Shuttle
Move the slider to compare the same shuttle bus with a new wrap design.
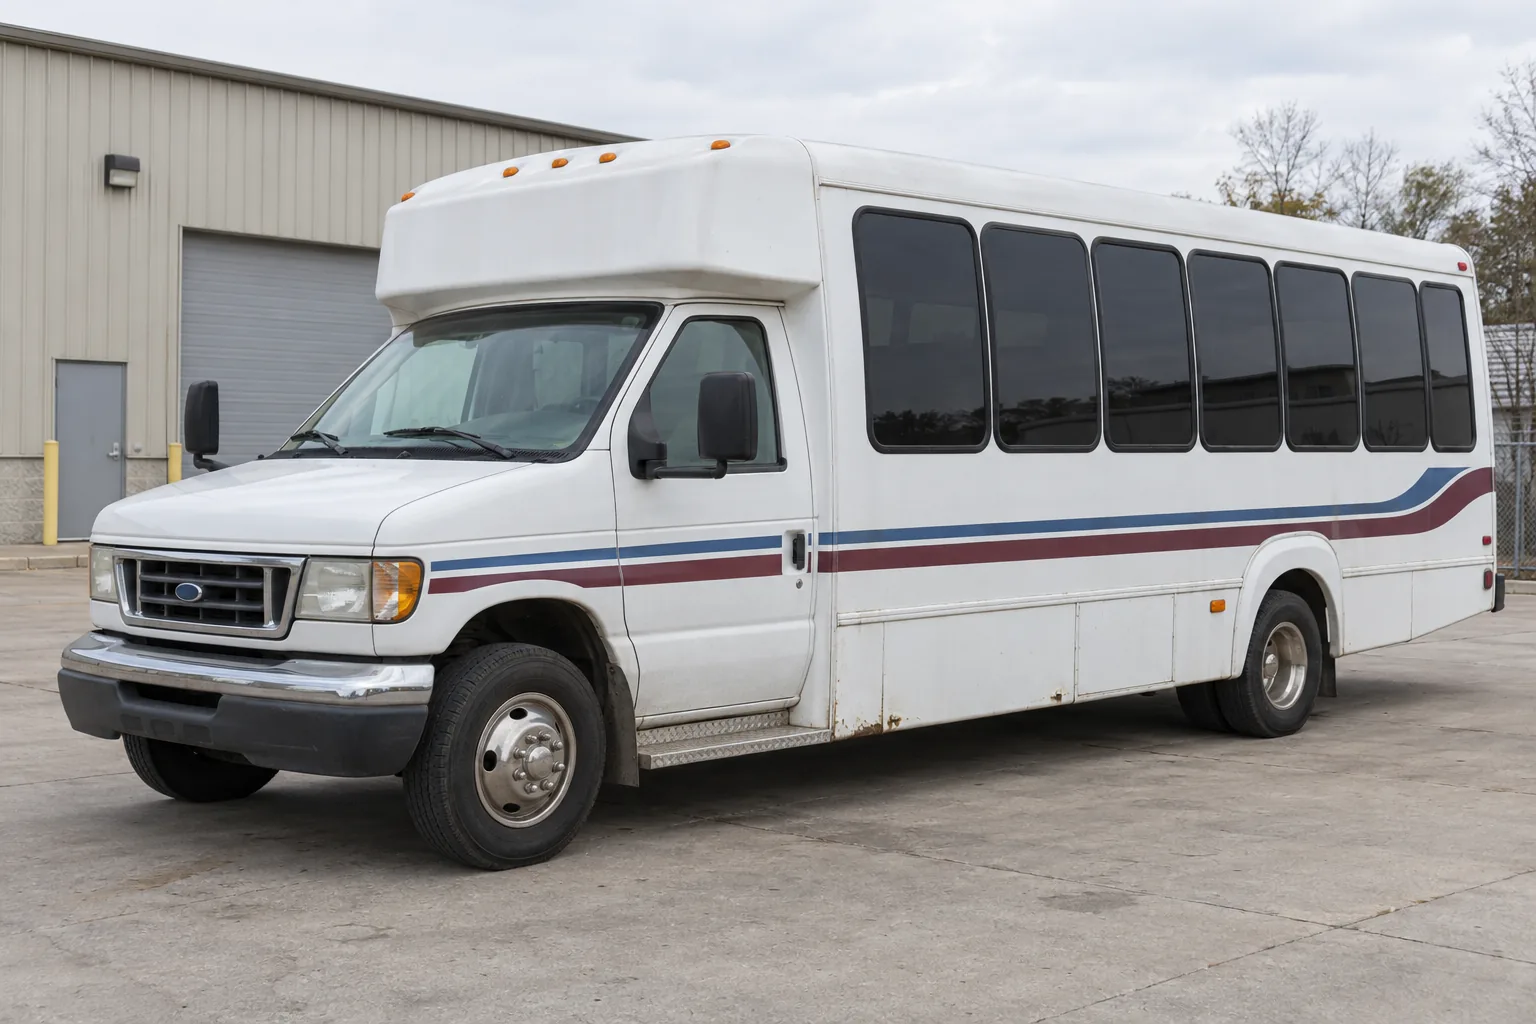
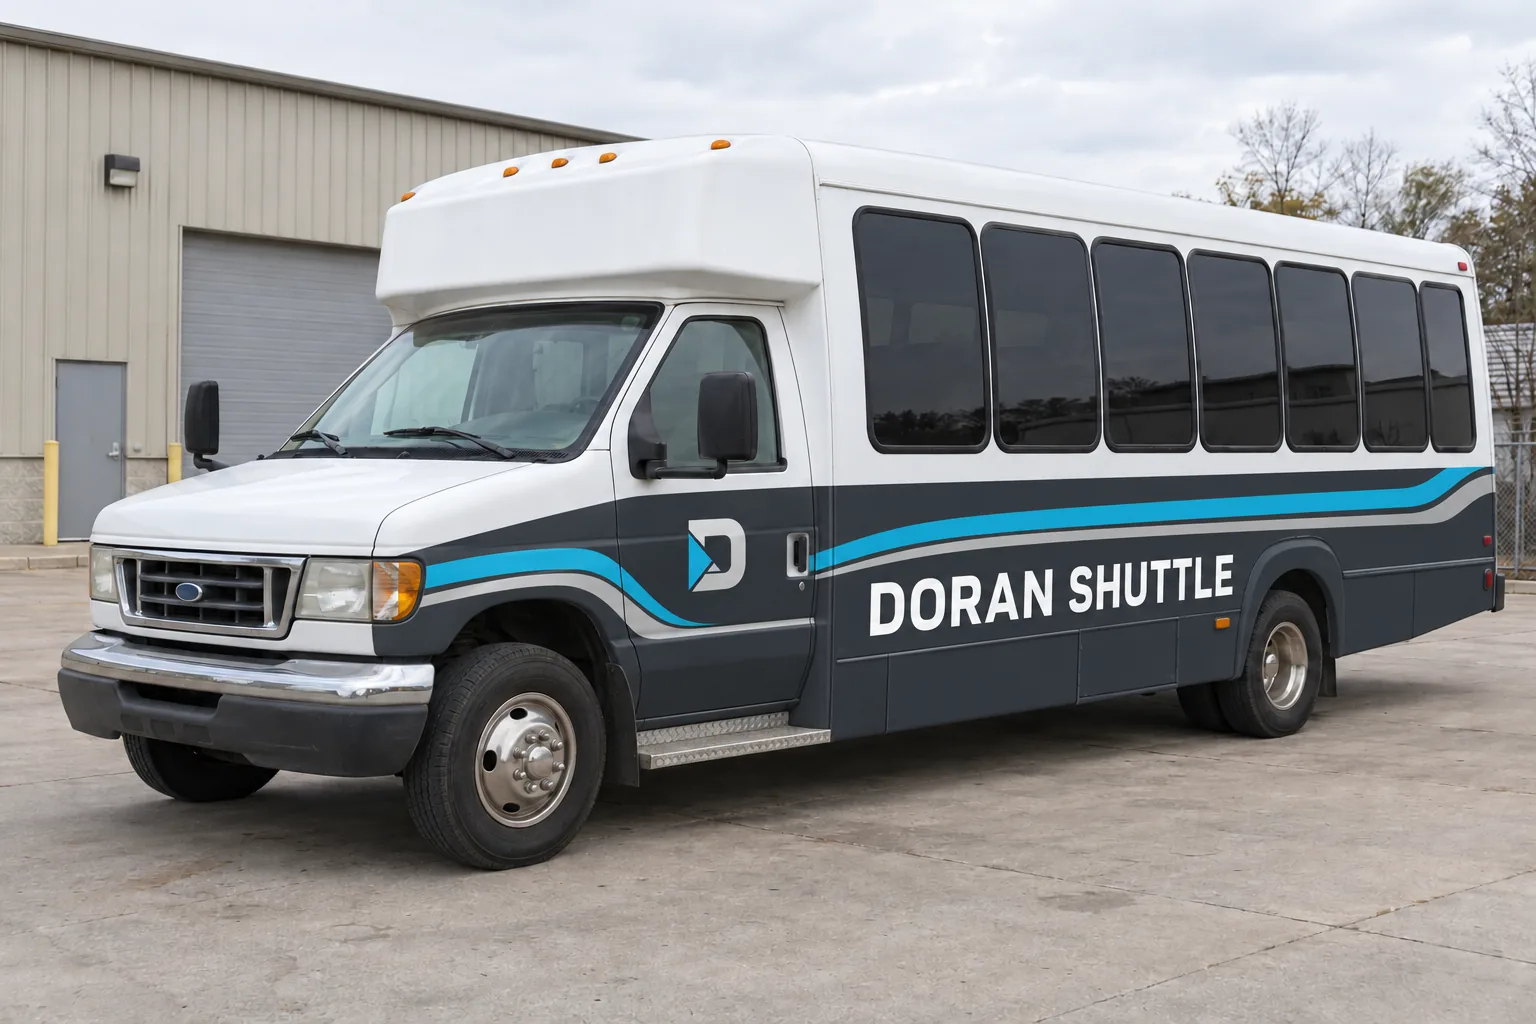
The after-view assumes a sound, properly prepared surface. Rust, failed paint and damaged panels need assessment and appropriate repair before graphics.
Use the gallery to narrow the idea, then plan the actual job
A useful wrap reference helps you decide what the graphics should communicate. Start with the vehicle or surface that resembles your project, then look at the space given to the company name, service message and contact details. You do not need to choose every color or finish before asking a question. A short list of things you like is more useful than trying to copy an entire layout.
The gallery groups visuals by the way people shop: vehicles and fleets, boats and marine graphics, signs and spaces, and planning details. The search helps narrow those groups further. Open a visual for a closer view, or follow its related topic to learn which measurements and decisions matter for that type of work.
Compare body shapes before comparing decoration
A box truck gives the designer broad, relatively flat side areas. A service van has a different set of interruptions: sliding doors, windows, wheel arches and sometimes a ladder rack. An enclosed trailer may bring a V-nose, hinges, a side door or a full rear ramp into the layout. The shape determines where important information can be placed and where the graphic needs a deliberate break.
When browsing, find a similar configuration and note the differences on your own equipment. Use the dedicated box truck, van and trailer pages to prepare the next conversation. The final design should be checked on the actual body, not accepted simply because a reference looks good.
Look for a clear message and a practical viewing angle
Ask what a customer should recognize first. In many business layouts, that is the company name and one clear service message. Contact information should have an intentional place rather than compete with every other element. The broad side view and the rear view may have different jobs: someone passing the vehicle sees a different amount of information from someone stopped behind it.
Compare the layout at more than one size on your screen, then discuss the real viewing conditions with the team. A tiny online thumbnail cannot prove how a finished vehicle will read at a distance. Record the hierarchy you want and bring the approved wording, phone number and website so those details can be reviewed on the production proof.
Use coverage comparisons to define the surfaces
Quarter, half, three-quarter and full-side graphics are starting points for a coverage discussion. They should be connected to a list of real panels. Roofs, hoods, cabs, front walls, rear doors and tailgates may be separate selections. A vehicle can have a strong side treatment while the rear message needs its own design decision.
Use the full versus partial comparison and Wrap Studio to explore a direction. Write down which surfaces you selected and ask the proposal to identify them. That makes it easier to compare two options using the same scope and keeps an attractive reference from becoming an assumption about included work.
Keep a fleet consistent without forcing every body into one layout
For several vehicles, choose the brand features that should stay recognizable: the main colors, logo treatment, service wording and contact hierarchy. Then allow the layout to adapt to the usable space on each model. A long box side and a compact van door do not need the same arrangement to belong to the same fleet.
Send a model list, unit quantities and any body variations that affect the graphics. Include the plan for later additions or replacement panels if that matters to your operation. The fleet graphics page explains the broader program. Keeping approved records together makes future requests easier to identify and gives the team a reliable starting point for a new unit.
Choose installation or shipped production before the quote
If Pelican will handle the vehicle installation, say where the equipment is located and when it can be available. If you or another shop will install, start with the DIY kit and trade-printing hub. That route covers design help, printed panels, cut graphics and a production handoff for your installer.
The reference image still helps, but a shipped order also needs an agreed cut or trim plan, material, panel identification and delivery destination. The project minimum is $350; a complete kit is quoted for the work being supplied. Artwork, fit and shipping are reviewed before production. Choose the service path first so the team can prepare a proposal that matches who is responsible for the installation.
Send a brief that the team can act on
Save a few reference links and explain the specific features you prefer. Add the year, make, model and relevant dimensions of your vehicle, along with clear photographs of both sides and any selected front, rear or upper surfaces. Include the quantity, timing, location and whether old graphics or surface concerns need review.
Bring the original brand files when you have them, and check the spelling of every visible contact detail. Use the artwork guidelines to organize the handoff, then send your project request. Those details connect the visual idea to a practical design, production and installation discussion without requiring you to have every answer in advance.